
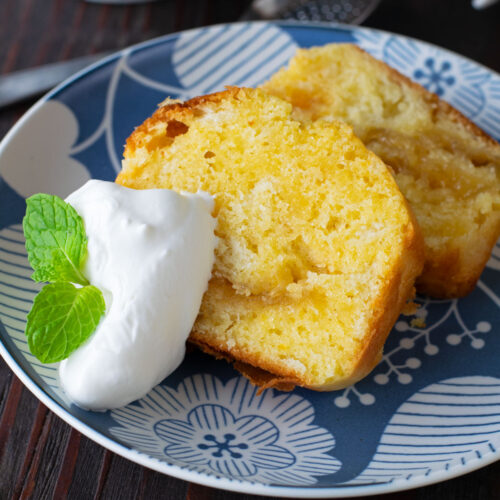
Yuzu cake comes out of the oven golden, with the classic cracked top of a pound cake. Slice into it while it's still warm and you'll find pockets of yuzu cha marbled through the crumb in shades of yellow. Add a dollop of cream cheese whipped cream, and every bite is tangy and just sweet enough. No fresh yuzu needed.
Jump to Recipe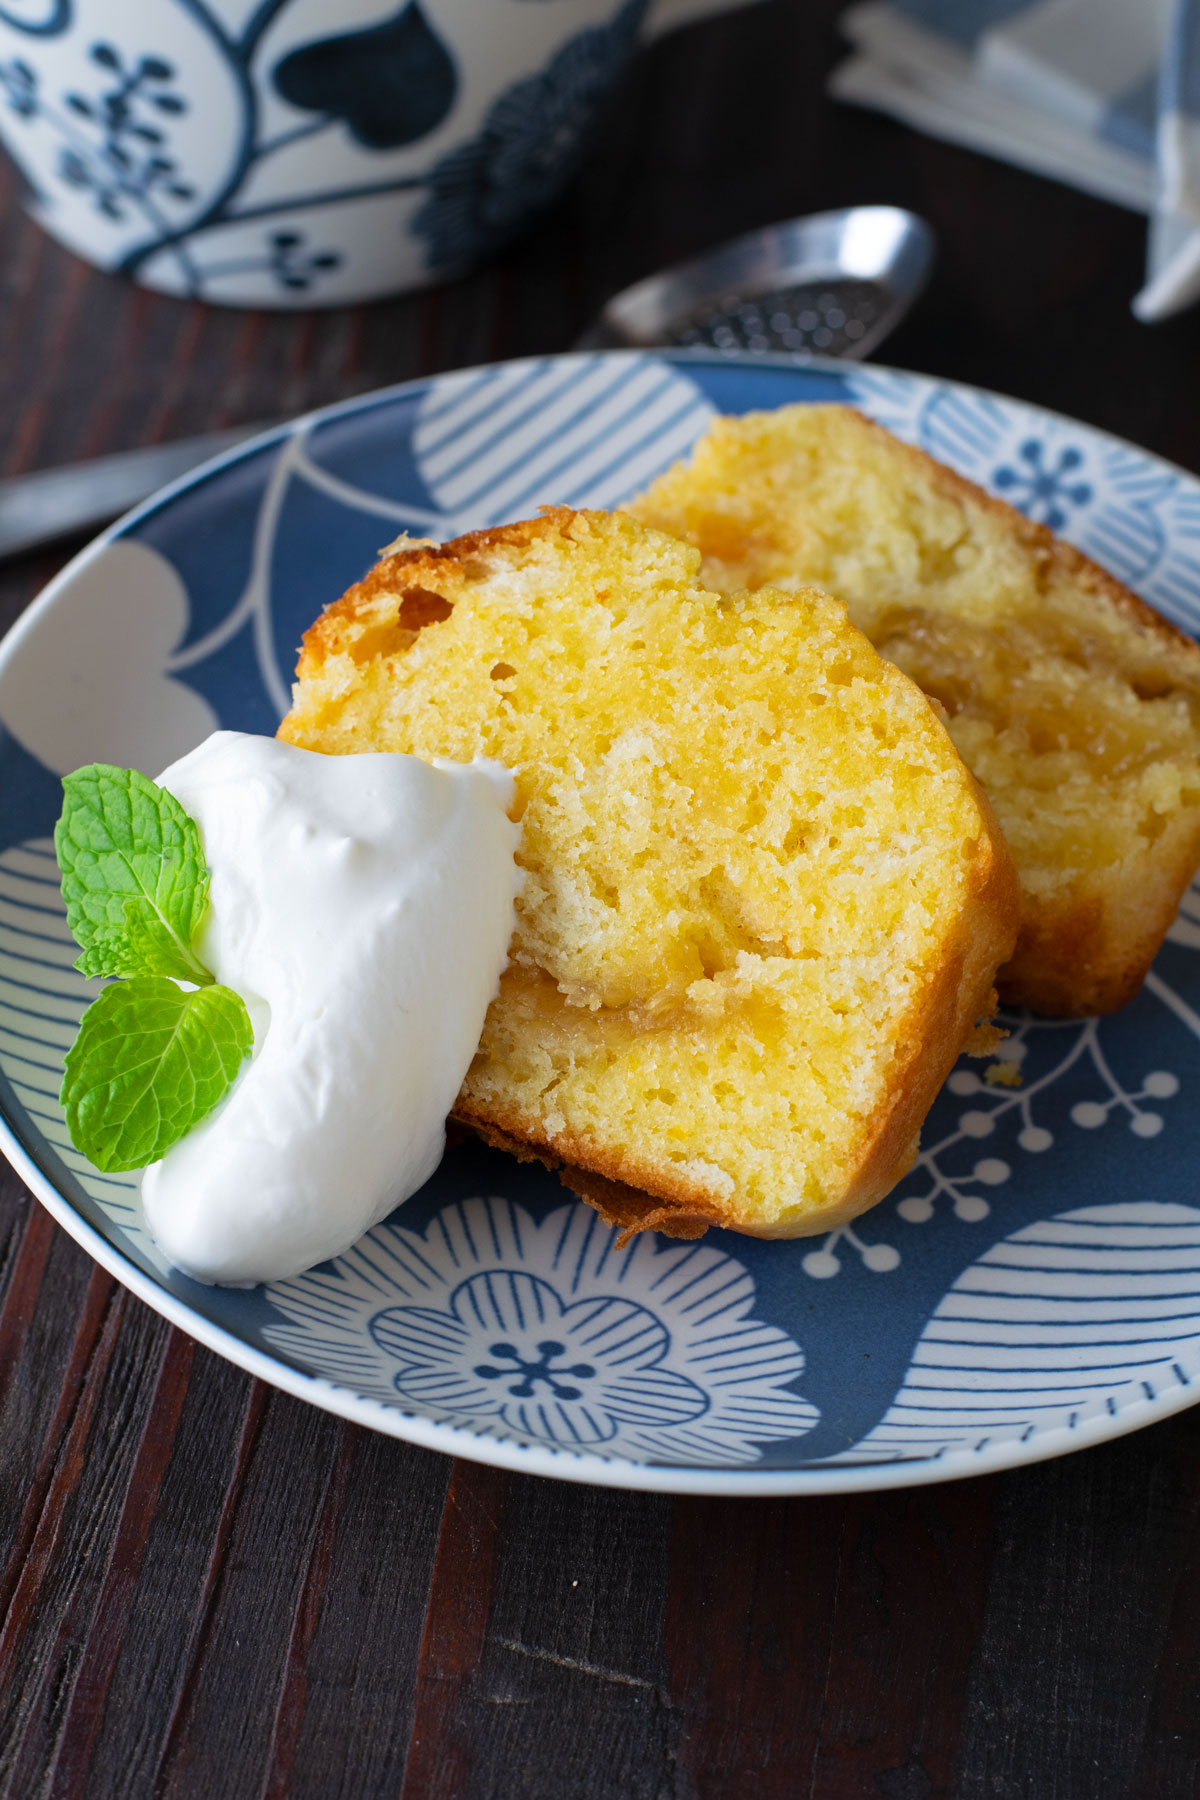
I still remember bringing my yuzu cheesecake to work for my colleagues to try. That's one of my favorite ways to find out if a recipe is a hit. You know you've got something when people keep bringing it up in conversation and start gently hinting that you should make it again.
My yuzu pound cake had a similar effect on me. I wasn't sure I could get that same "cheesecake effect" with a pound cake. Could yuzu really work the same magic without the cheesecake?
Turns out, yes.
I never share a recipe that I think is just OK. A recipe has to win me over first. It has to make me stop and think, wow, that's good.
Yuzu is a pretty special ingredient to start with, but getting this cake there took four attempts. The first three were...meh. They weren't bad. They just weren't good enough for me to put my name on them and share them with you.
Then I made it one more time.
Bam. Yes. I nailed it.
The persistence paid off. And now I'm confident this is a yuzu pound cake worth sharing.
Jump to:
Why You'll Love This
Seriously Moist
Soft, buttery, and dangerously easy to eat two slices of.
Full of Yuzu Flavor
Bright, fragrant, and unmistakably yuzu.
Little Pockets of Yuzu Jam
Jammy, tangy bursts of yuzu tucked throughout the cake.
Lightly Sweetened
Lightly sweetened so the yuzu can shine without the cake becoming overly sugary.
No Fresh Yuzu Needed
Just order a jar of yuzu cha (yuzu tea marmalade) online and you're ready to bake.
What Is Yuzu?
Yuzu is a fragrant citrus with a bright, complex flavor that's somewhere between lemon, mandarin, and grapefruit. It's tart, but its distinctive aroma is what really sets it apart.
Yuzu is widely used in Japan to flavor drinks (like my yuzu mocktail), desserts, yuzu sauces, and savory dishes. You'll find it in everything from yuzu cha to yuzu kosho, and I also use it in my yuzu cheesecake and yuzu dressing. For this cake, I use yuzu cha, a sweet yuzu preserve, to bring that distinctive citrus flavor into every bite.
To learn more, read my guide to yuzu juice.
Yuzu Cake Ingredients
Pound Cake Batter
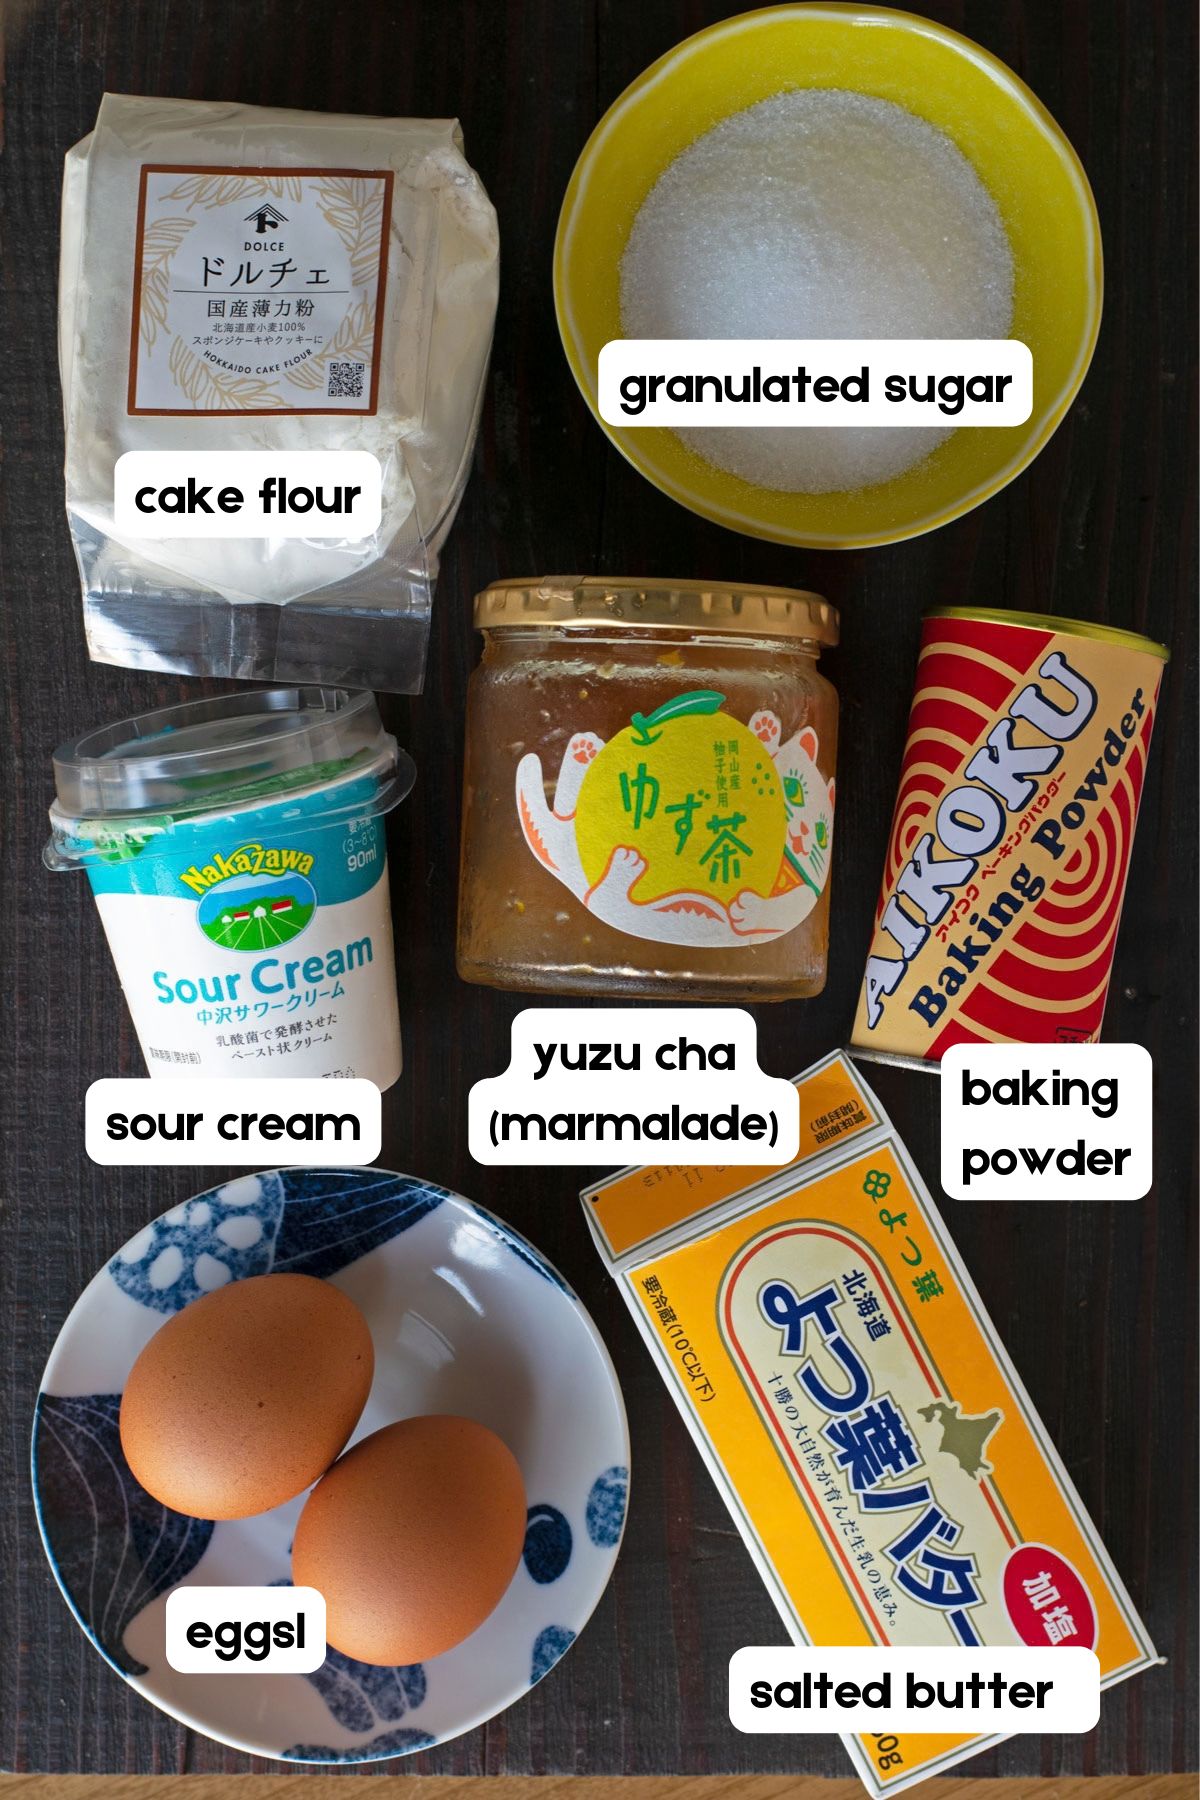
This small-batch pound cake fits a Japanese-style 18 cm loaf pan.
Here's what you'll need:
Yuzu Cha (Yuzu Tea Marmalade)
Gives the cake its bright yuzu flavor and little pockets of jammy citrus.
Cake Flour
Creates a light, tender texture.
Baking Powder
Helps the cake rise.
Salted Butter
Adds richness and buttery flavor. No extra salt needed.
Sour Cream
Adds moisture and a little extra tang.
Eggs
Add structure and richness. Use room-temperature eggs.
Granulated Sugar
Lightly sweet, more restrained than a typical Western dessert, which is how I like my sweets.
Butter, for the Center Line
A small amount, used to create the crack down the center of the cake. It also melts in as the cake bakes, adding a little extra buttery flavor.
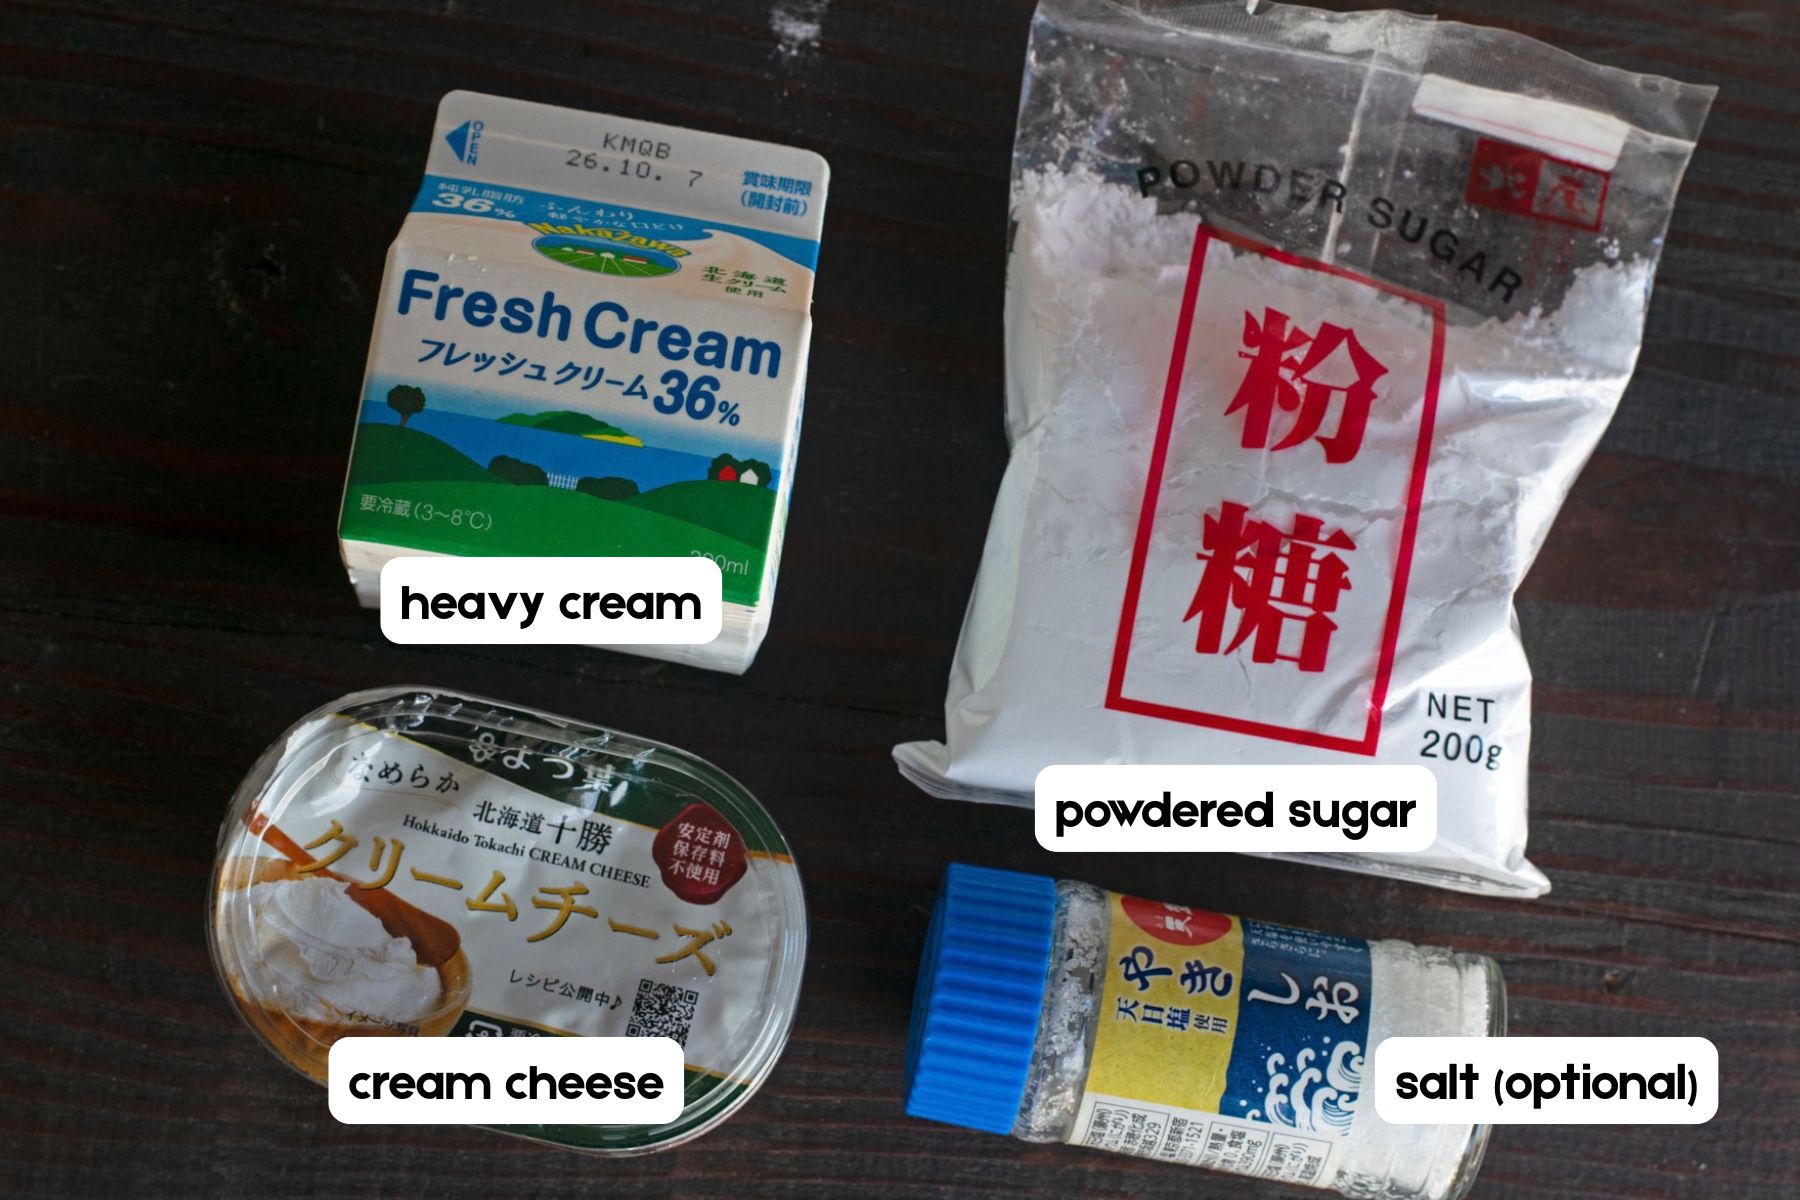
Cream Cheese Whipped Cream
Cream Cheese
Adds a tangy richness that pairs beautifully with yuzu.
Heavy Cream
Makes the topping light and airy.
Powdered Sugar
Adds a touch of sweetness, since I prefer my whipped cream lightly sweetened.
Salt (Optional)
A tiny pinch to balance the sweetness.
Ingredient Notes
- Yuzu Cha: This recipe uses bottled yuzu cha, sometimes referred to as "marmalade," a thick preserve of sweetened yuzu peel suspended in syrup or honey. Bottled versions vary in sweetness and how much peel is suspended in the syrup. If you are lucky enough to have fresh yuzu, you can make your own from scratch, see my homemade yuzu cha recipe.
- Flour: Cake flour is lower protein than all-purpose, which is what gives this pound cake its soft, tender crumb.
- Eggs: L size (about 64 g each) is the Japanese standard; US large eggs are close enough to use as a direct swap.
Equipment Needed
- Kitchen scale
- 18 cm loaf pan (Japanese-style pound cake pan)
- Parchment paper
- Small saucepan, for the water bath
- Heatproof glass pan, to melt the butter in
- Electric hand mixer
- A few medium mixing bowls. 3 bowls are ideal.
- Sifter or fine-mesh strainer, for the flour
- Spatula
- Toothpick, to test doneness
A Note on Pan Size
This recipe is made for an 18 cm Japanese-style pound cake pan. That's noticeably smaller than a standard US loaf pan (usually 8.5 x 4.5 inches, or about 21.5 x 11.5 cm). Use a regular US loaf pan without adjusting, and the batter won't properly fill it.
The easiest fix is the right pan. 18 cm loaf pans are available online, including on Amazon. If you plan to make this recipe more than once, you may want to pick one up.
No new pan? Try a muffin or cupcake tin. Divide the batter evenly among the cups. They'll bake much faster than a loaf, since smaller portions cook through quicker.
I haven't tested exact timing in a muffin tin. Start checking for doneness earlier than you'd expect. Use a toothpick, not a clock: it should come out clean or with just a few moist crumbs.
How to Make Yuzu Cake Step-by-Step
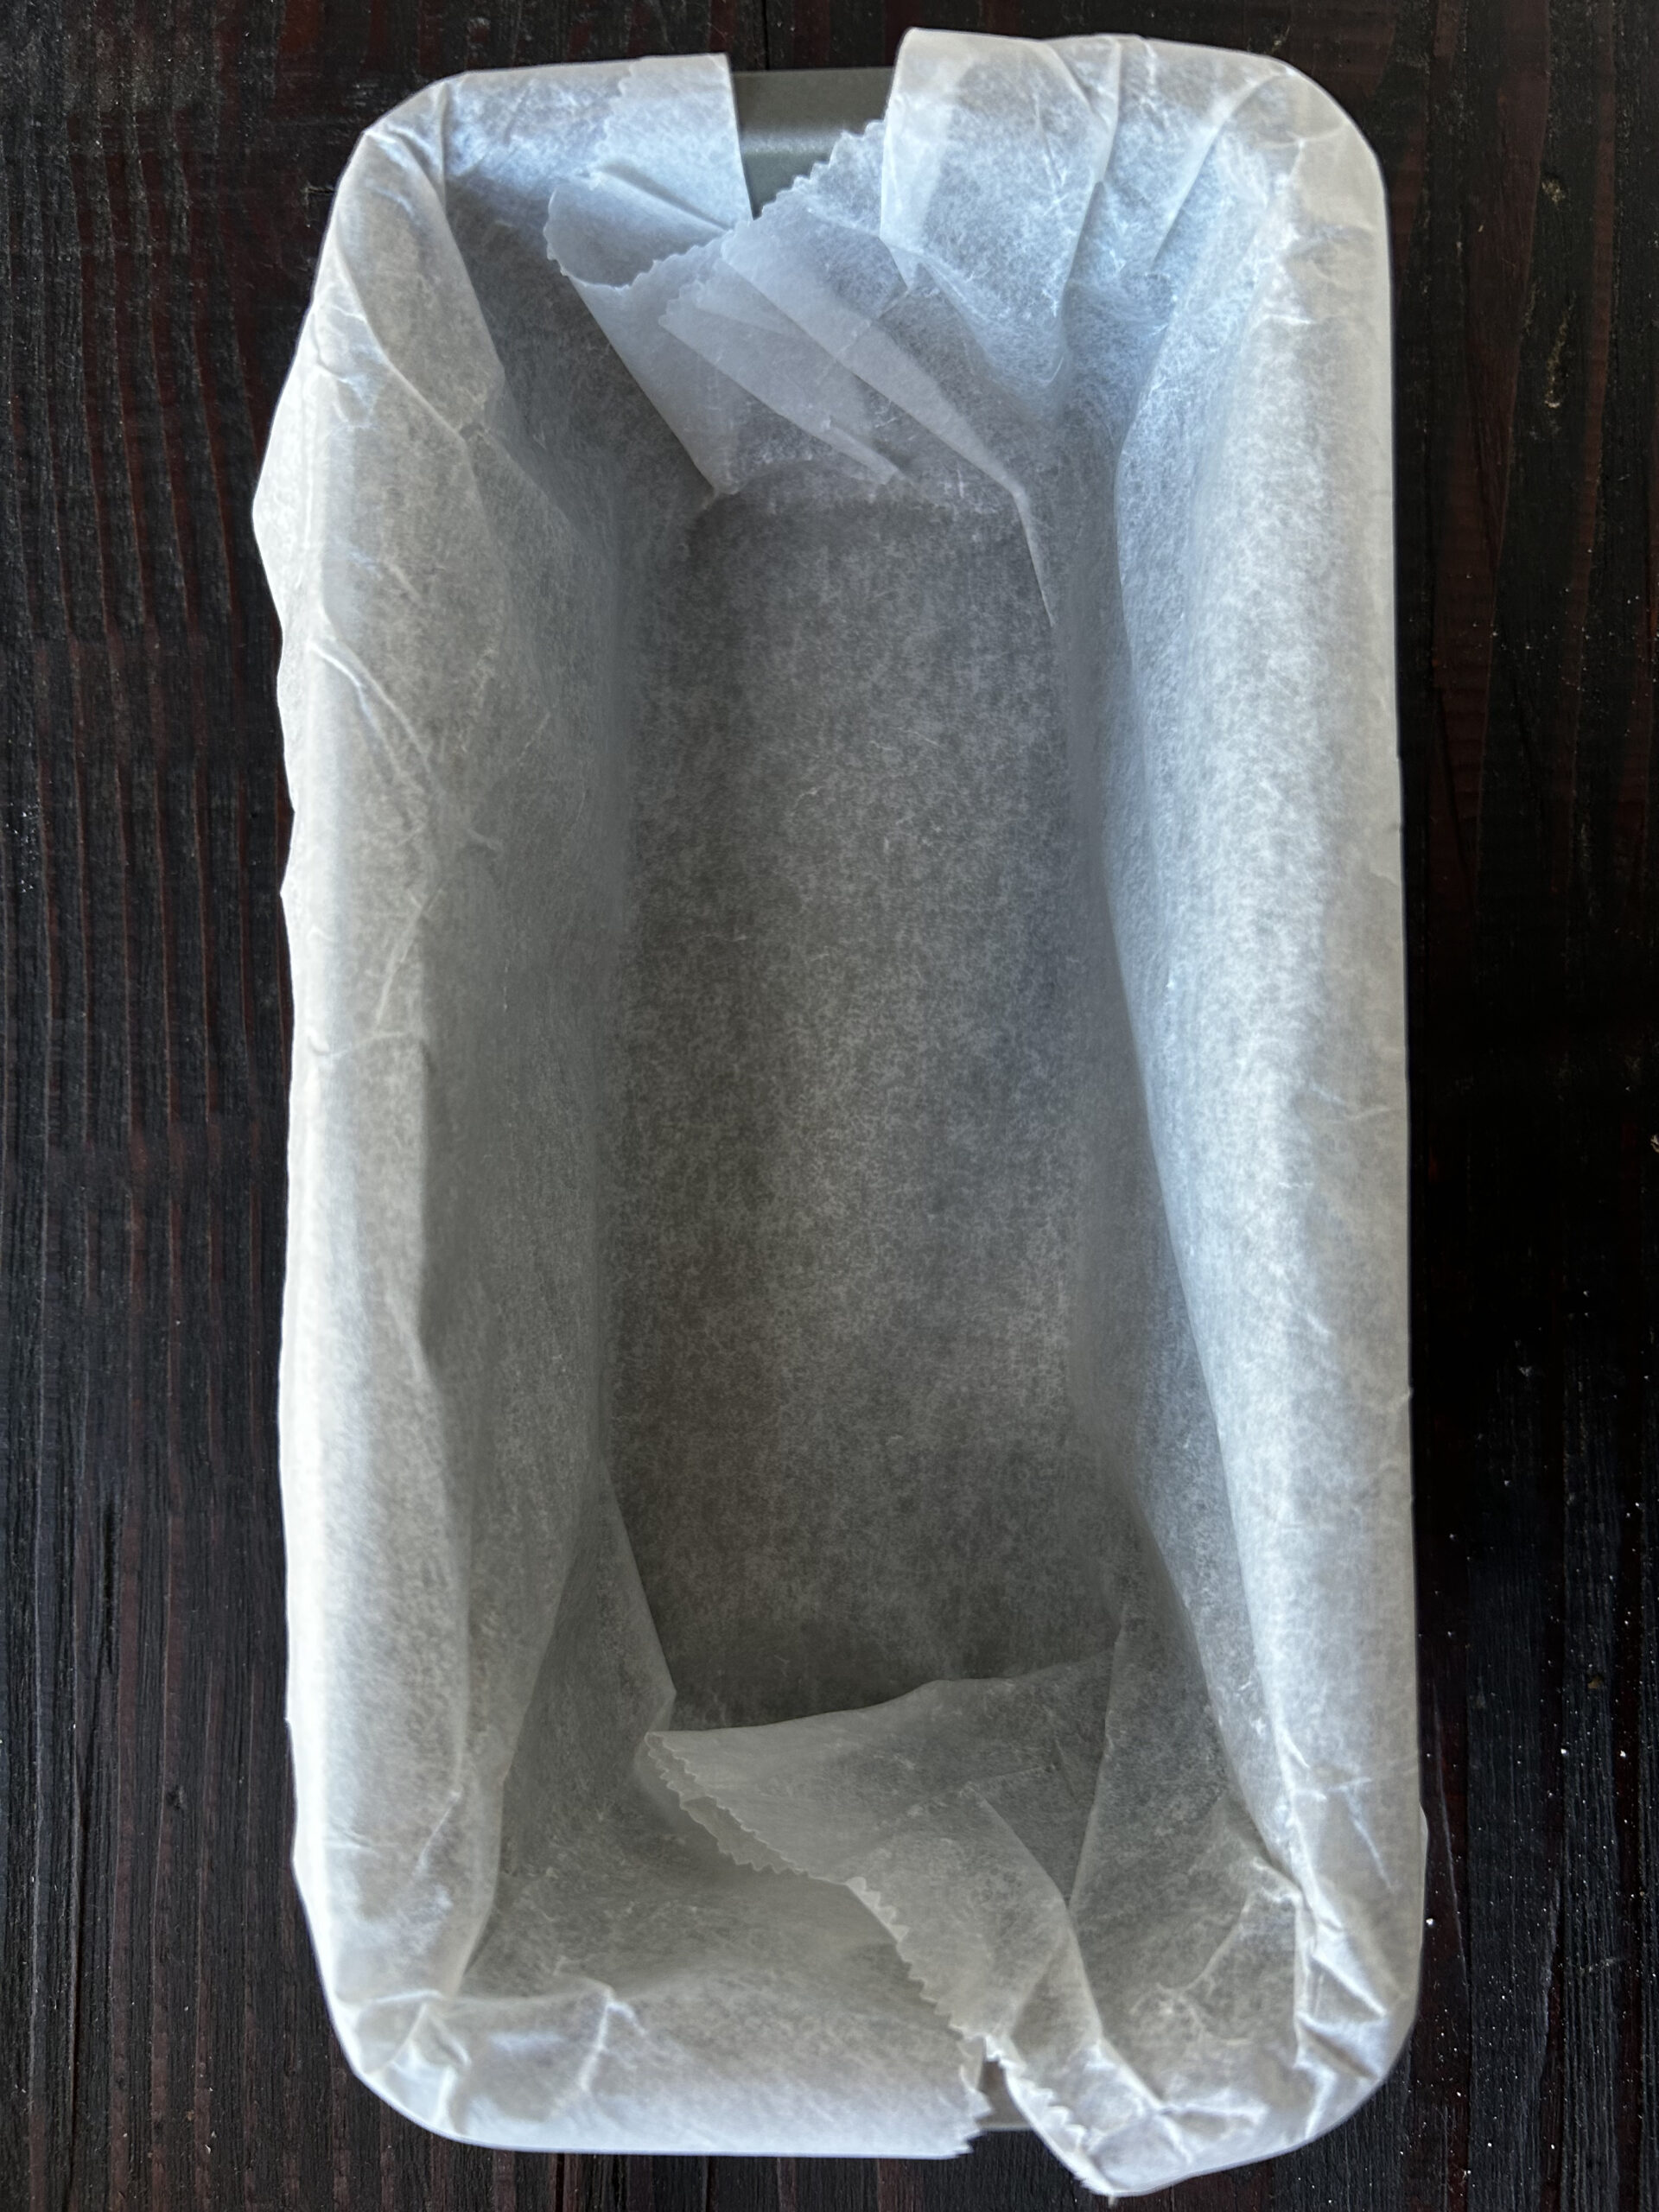
1. Line Pan with Parchment Paper
Preheat the oven to 320°F (160°C) and line an 18 cm loaf pan with parchment paper, letting it hang over all four sides. Those overhanging flaps act as handles, making it easy to lift the baked cake out of the pan later.
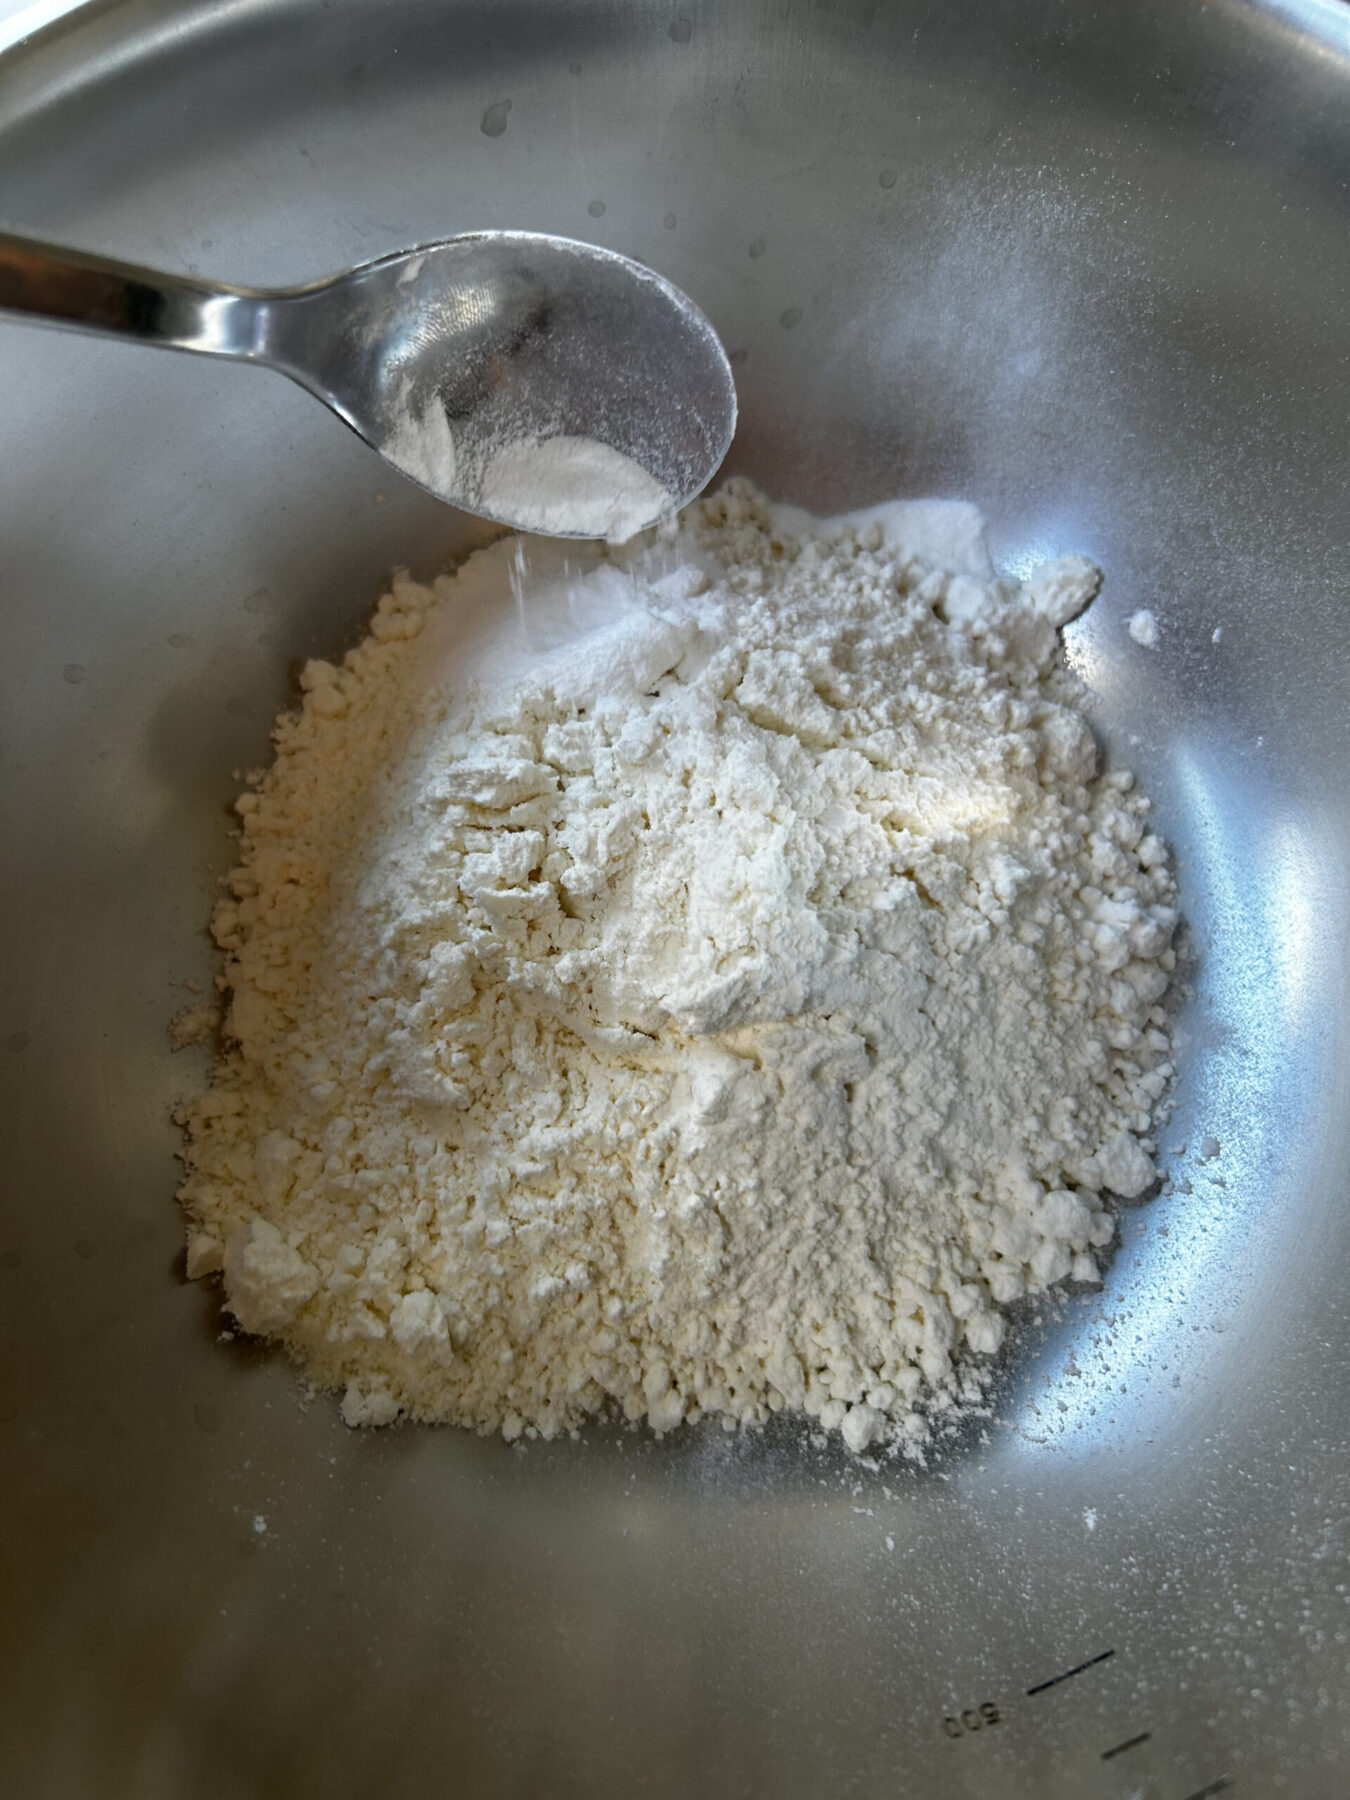
2. Mix Flour and Baking Powder
Whisk together the cake flour and baking powder in a medium-sized bowl; set aside.
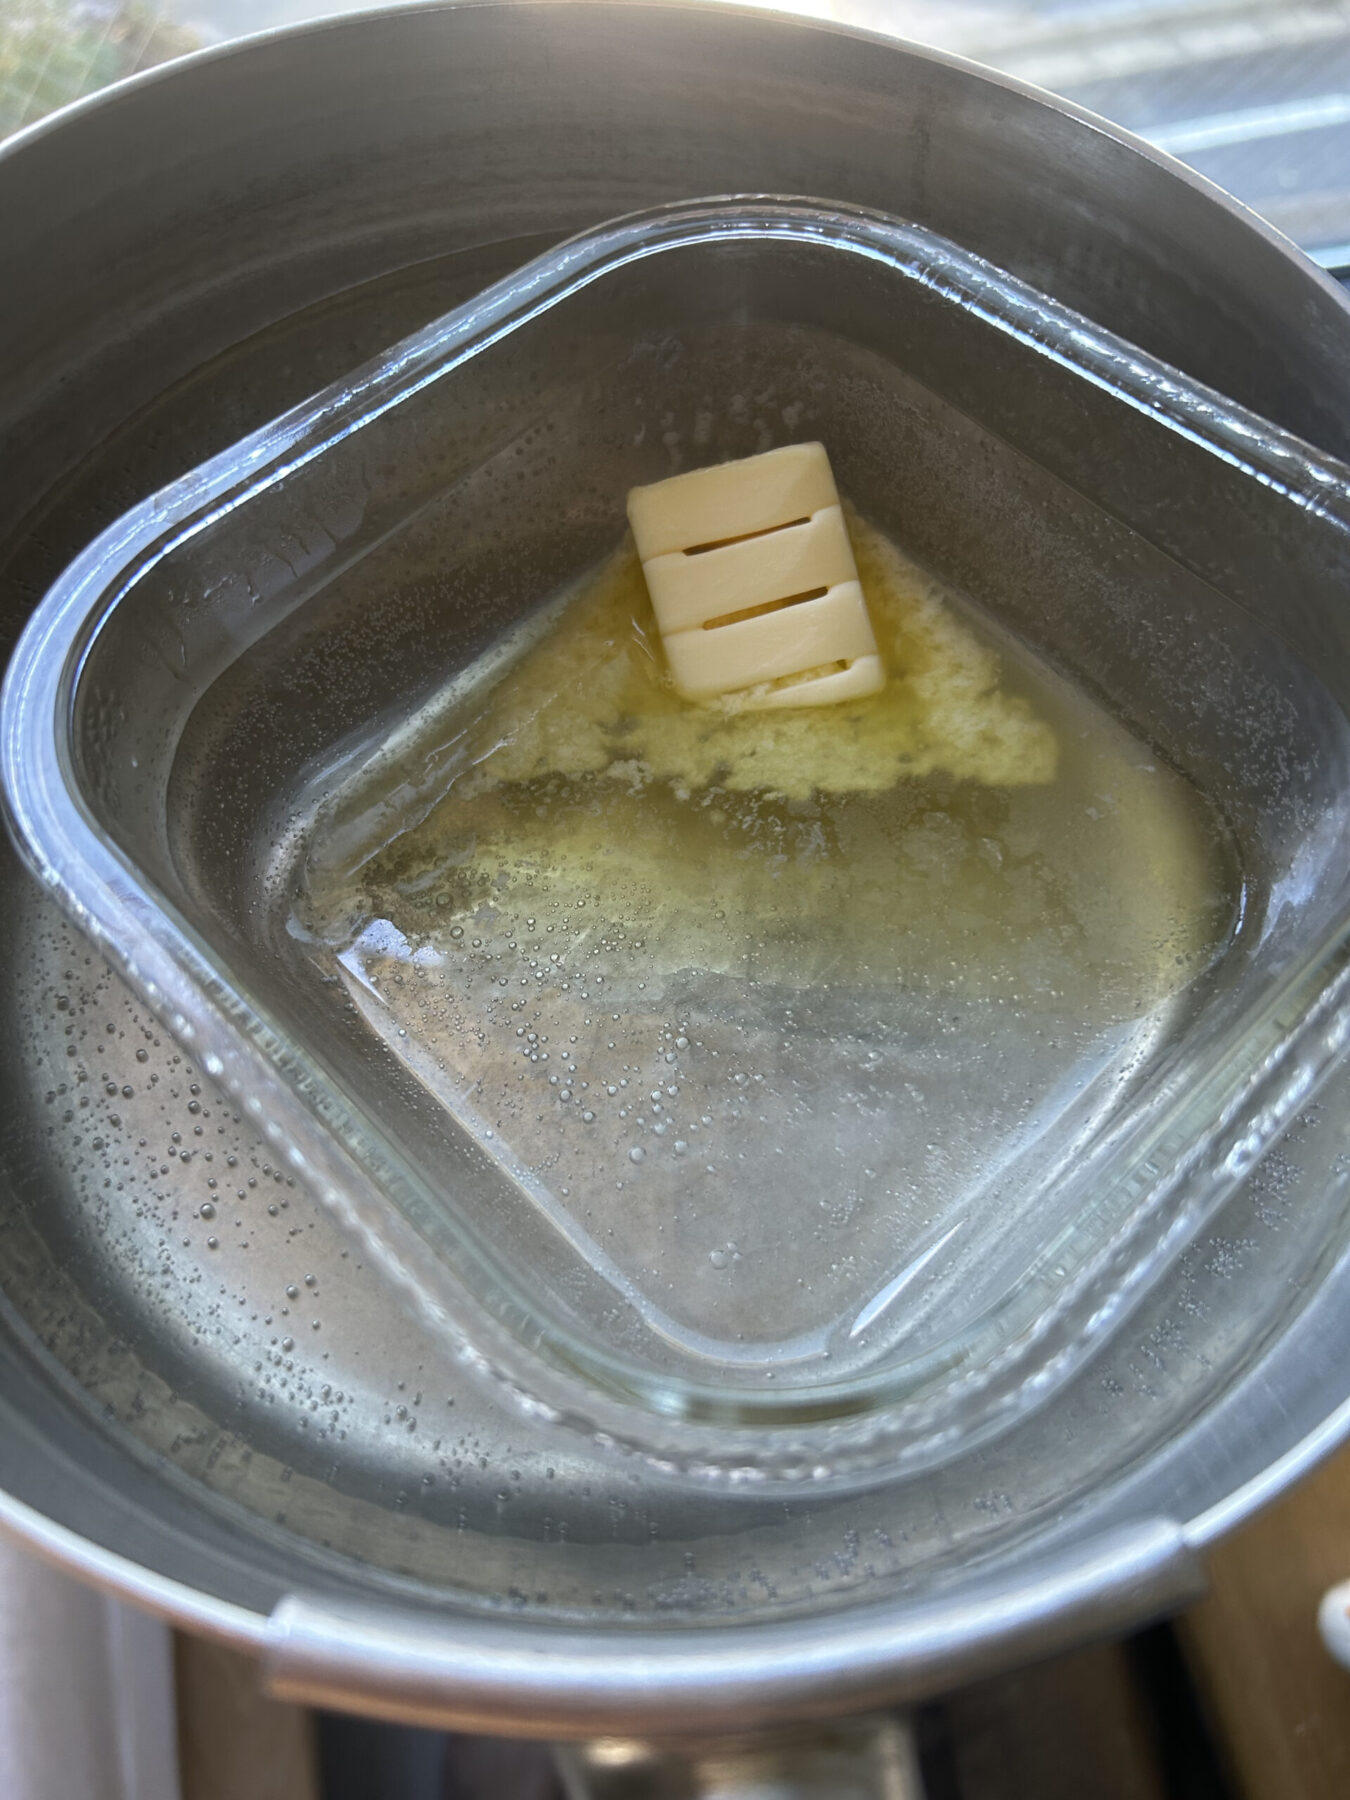
3. Melt The Butter
Melt the butter in a glass pan set inside a saucepan filled with 1 inch of water. Bring the water to a gentle boil, turn off the stove, and stir the butter with a spoon until liquid. Cover with plastic wrap and set aside.
Safety Note: Be careful not to burn your fingers on the hot steam or glass pan.
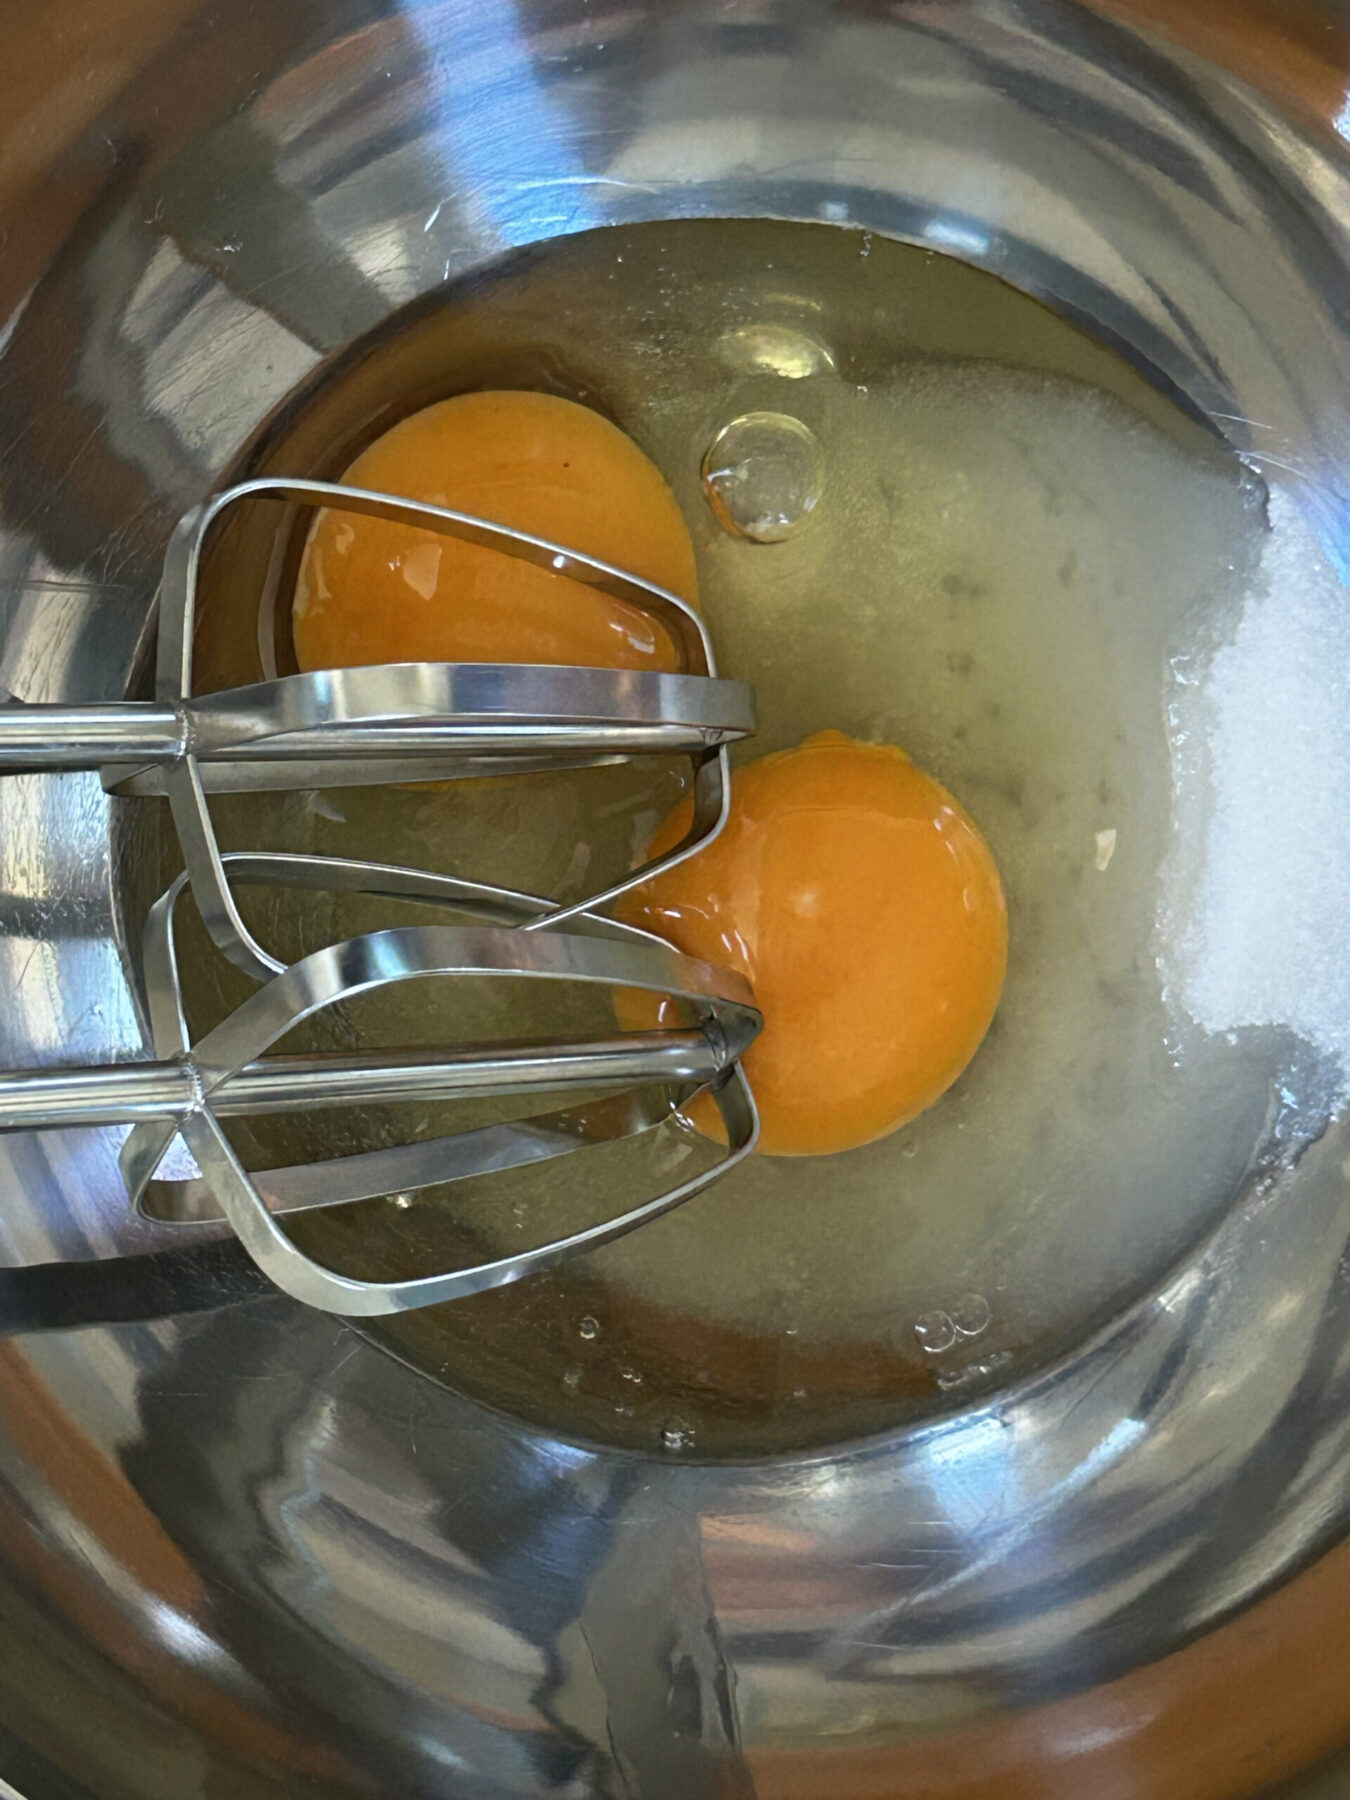
4. Combine Eggs and Sugar
Add the sugar and two large eggs to another medium-sized mixing bowl.
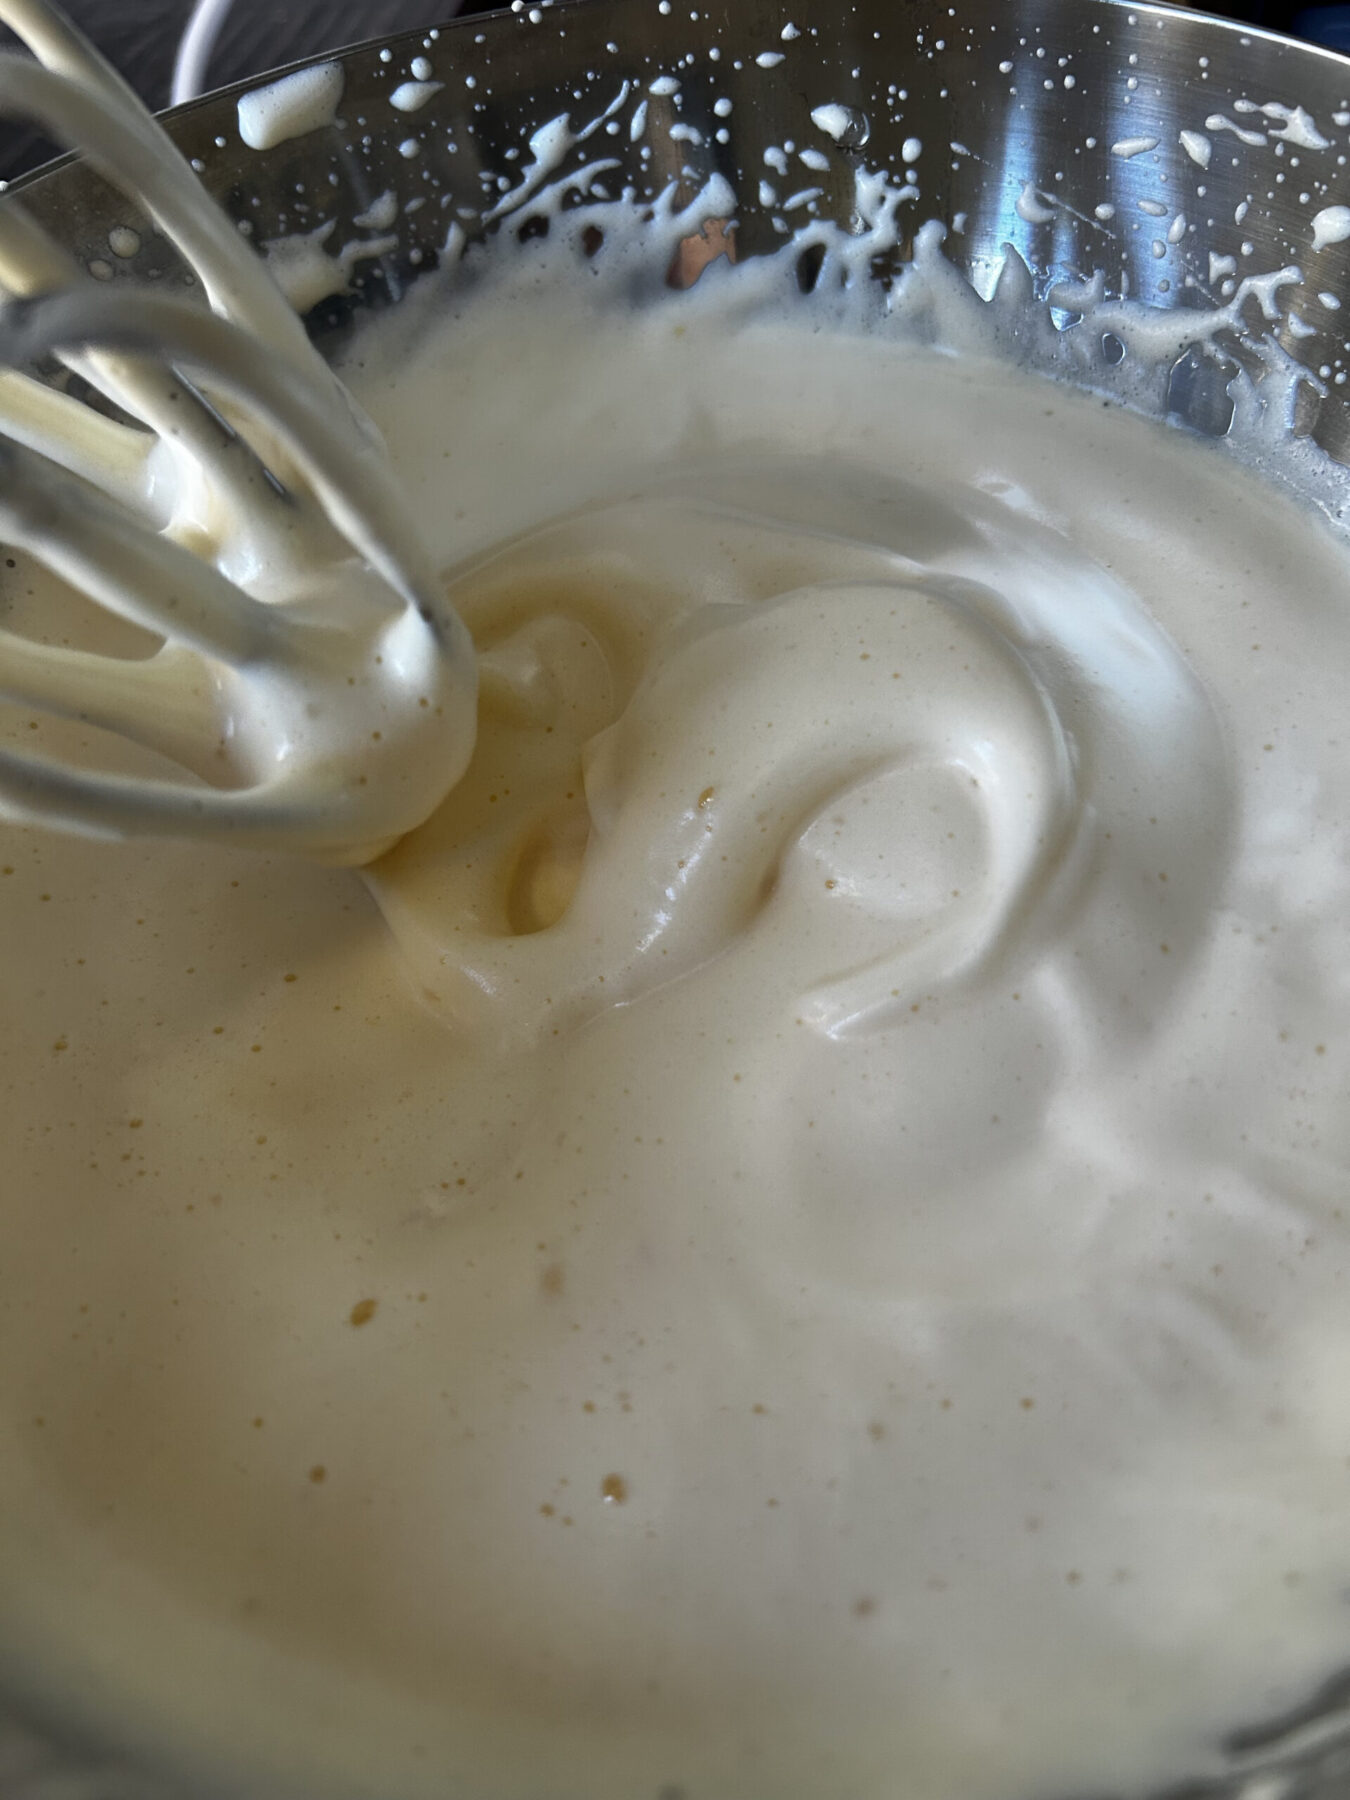
5. Whip the Eggs and Sugar
Start on low speed. Then, whip on high until thick and pale. Ready when the batter holds a figure 8 shape for about 1 cm. Switch to low speed and mix for 30 seconds more.
Note: This process takes a minute or two.
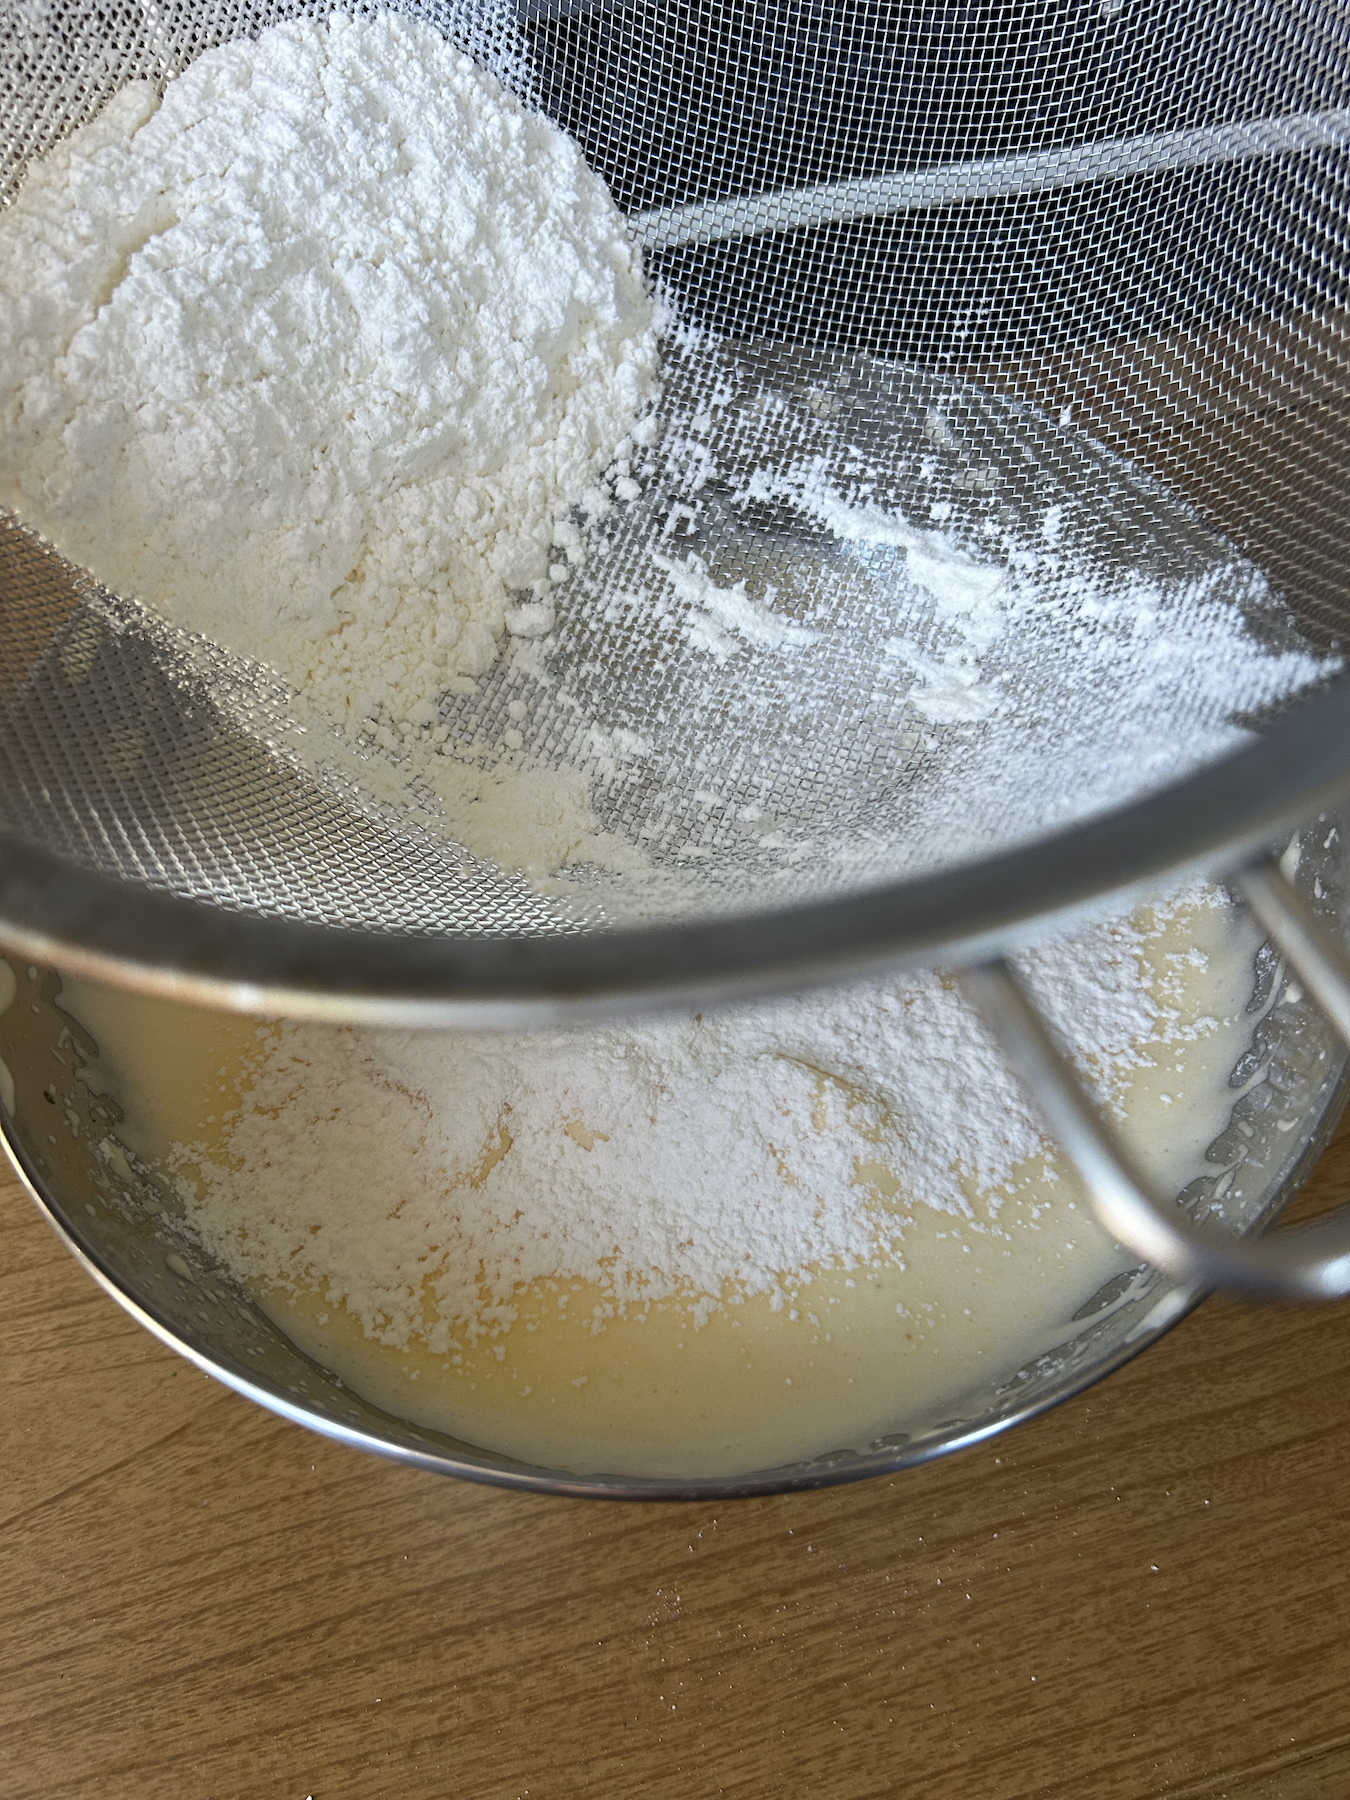
6. Sift in the Flour
Sift about ⅔ of the flour mixture into the egg batter.
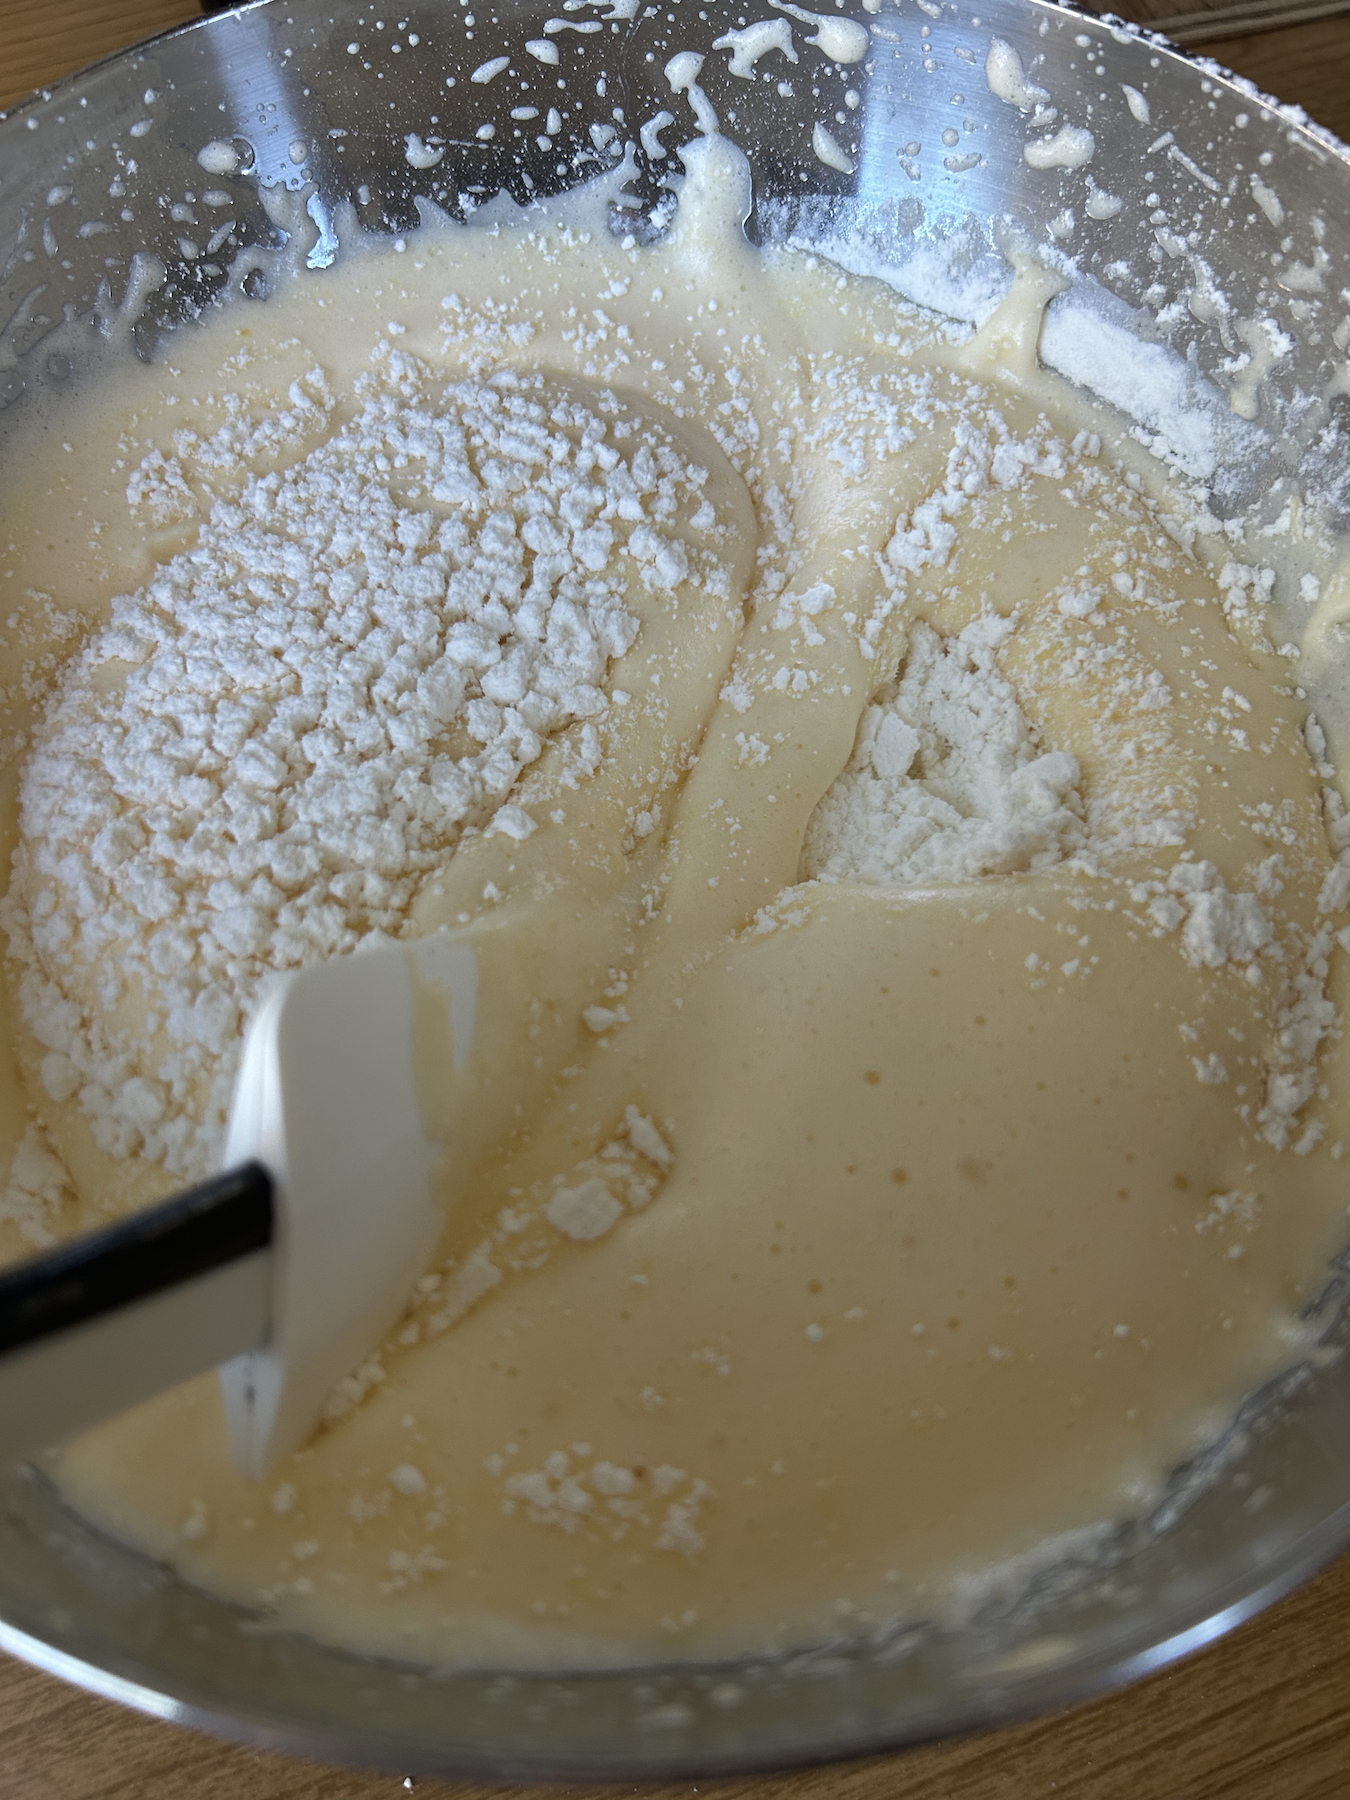
7. Fold in the Flour
Fold with a cutting, scooping motion, turning the bowl with your other hand, until no flour is visible. This step also takes a few minutes to mix in all the flour. Set aside.
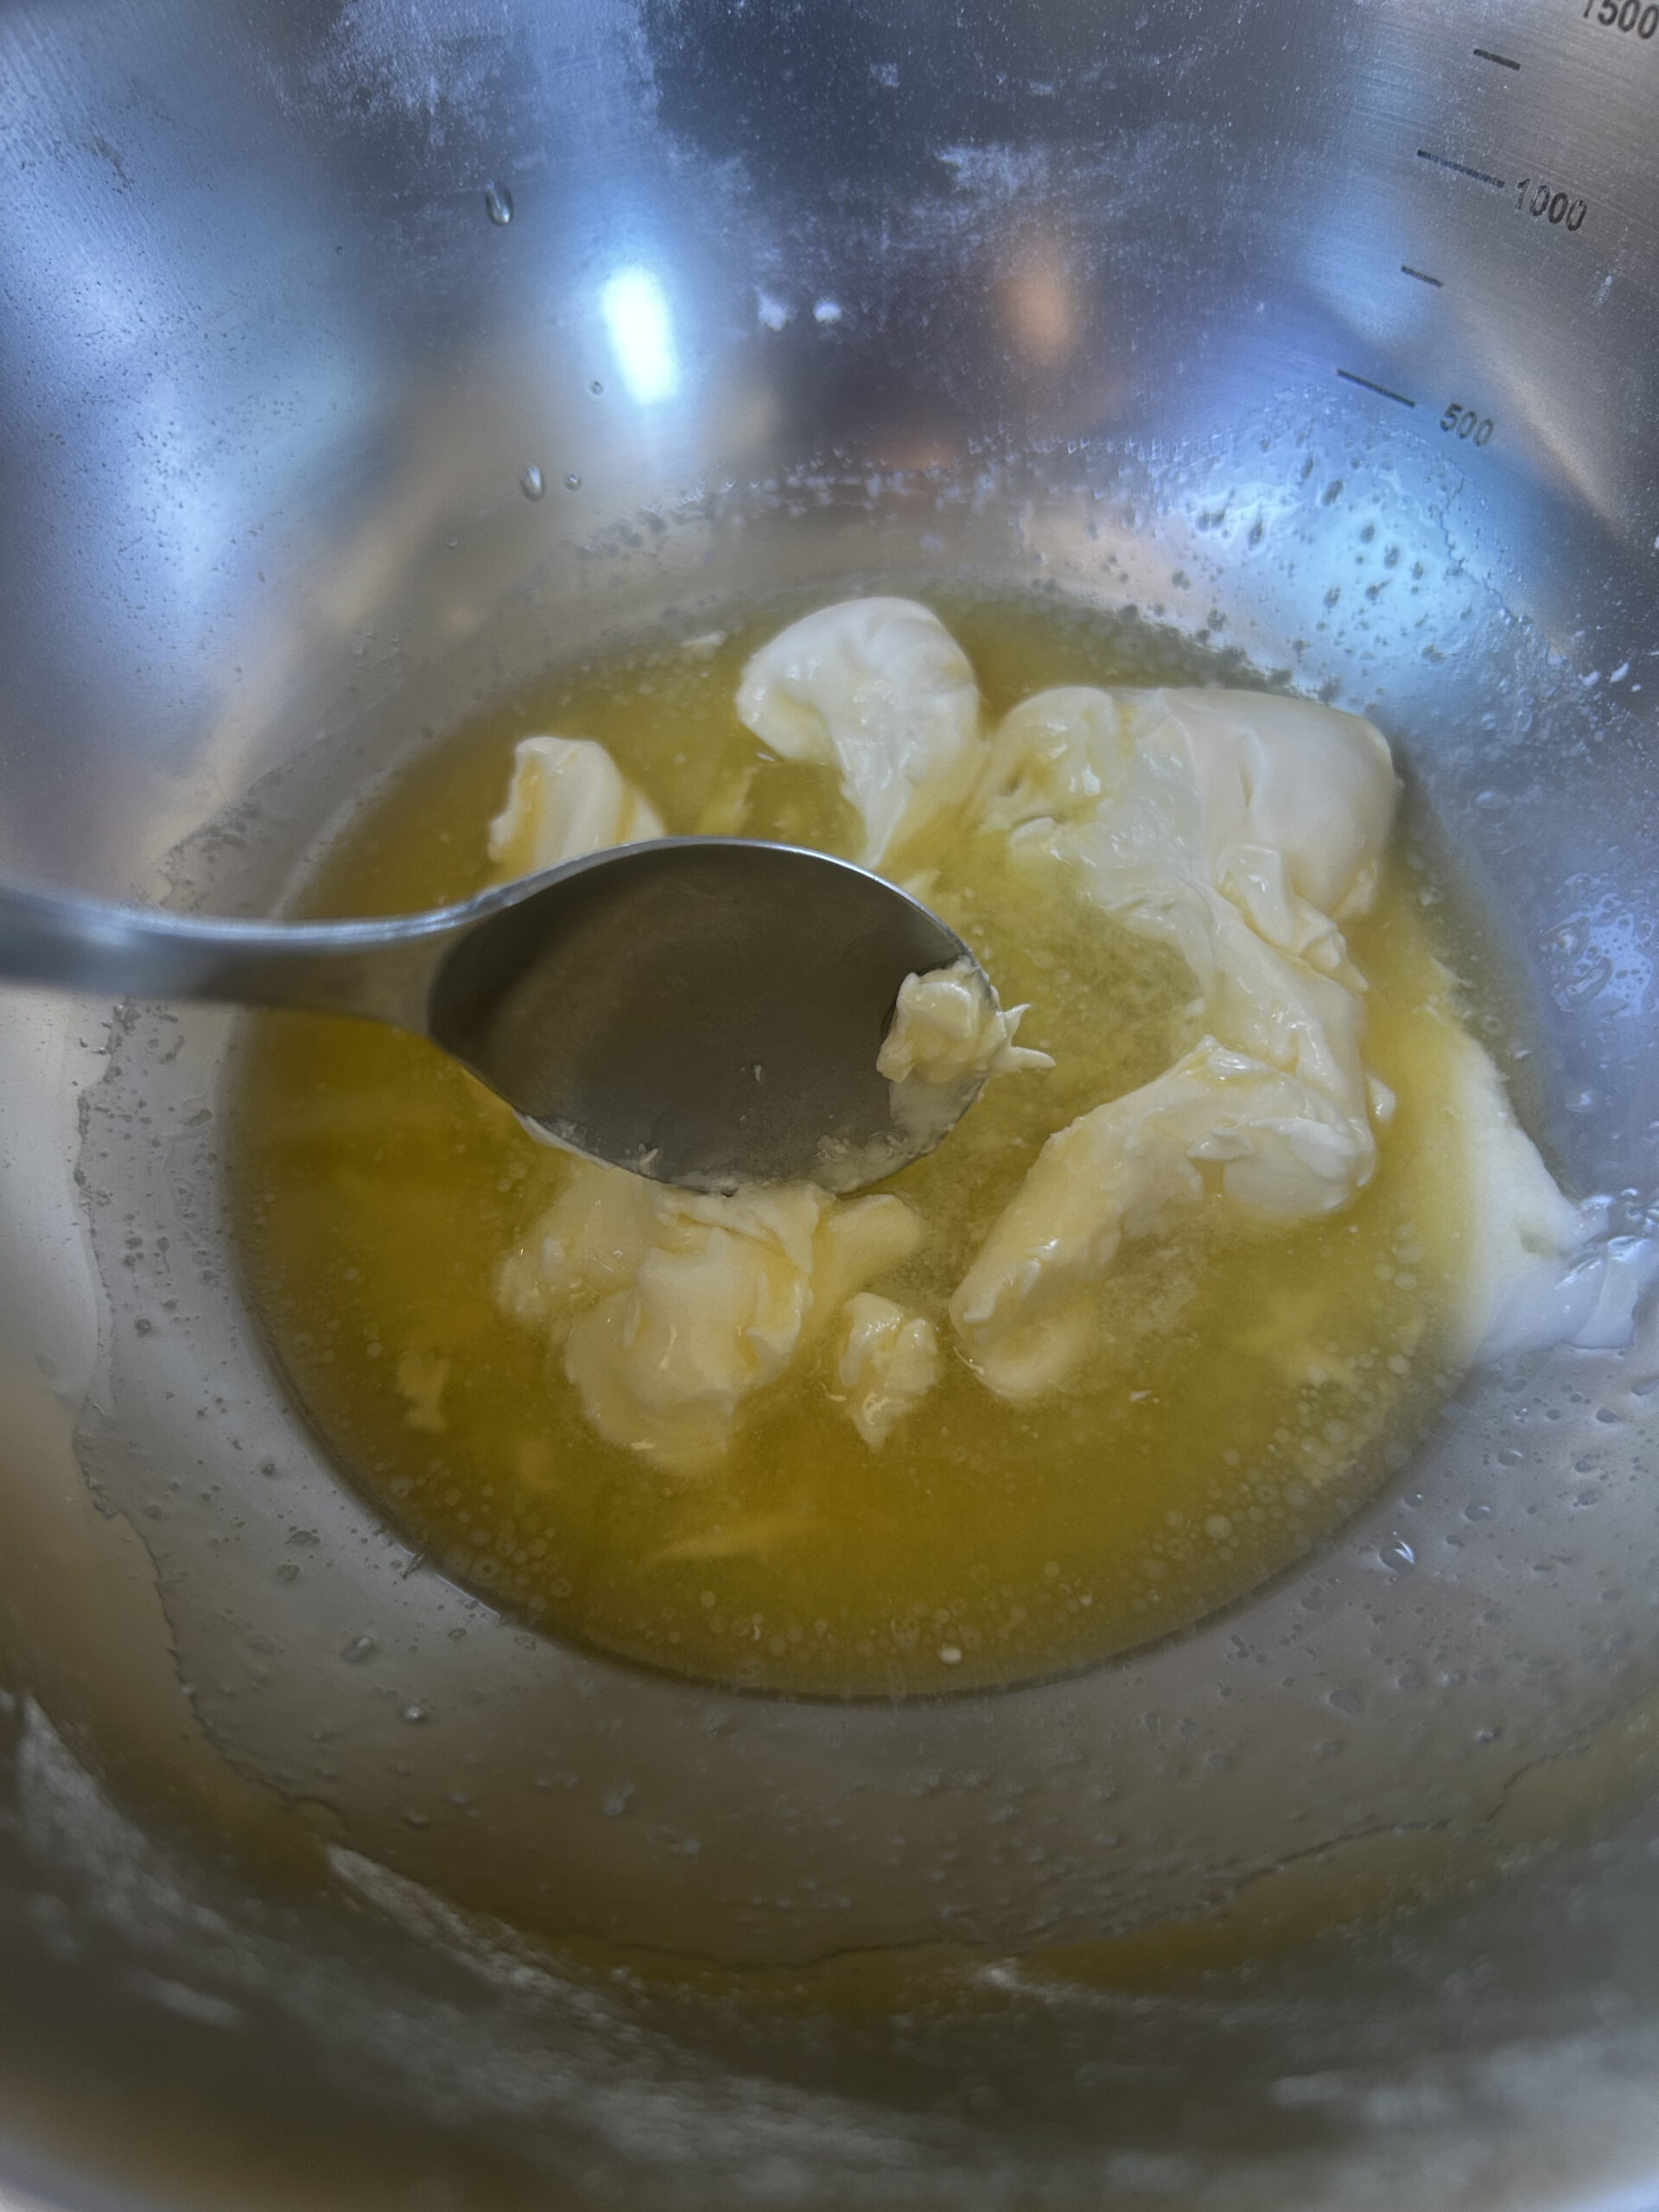
8. Finish the Butter Mixture
Transfer the melted butter to a clean, medium-sized bowl. Then add the sour cream and stir together with a spoon until smooth.
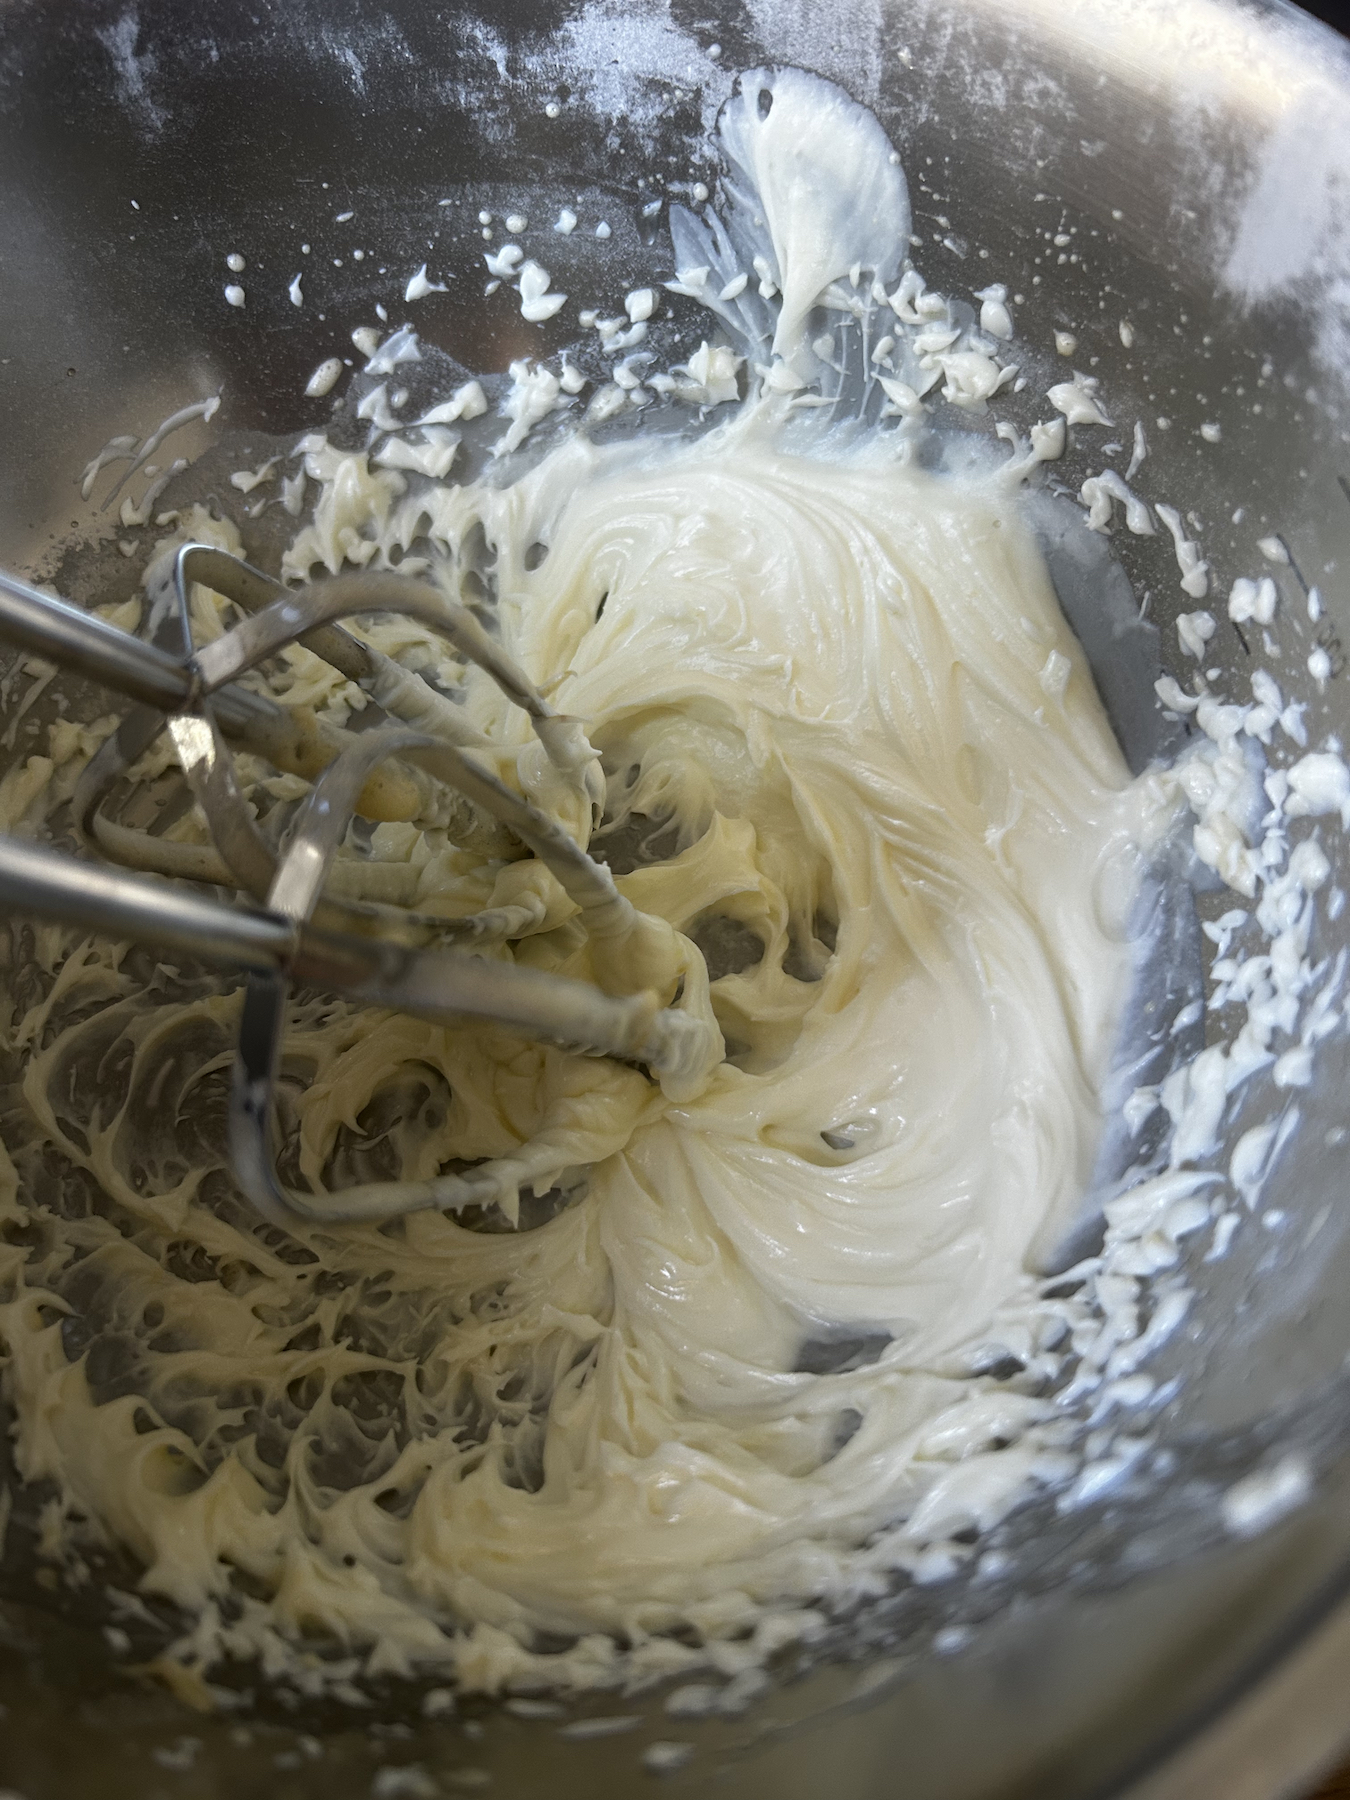
9. Finish the Butter Batter
Sift all of the remaining flour mixture into the butter and sour cream mixture and fold with a spatula until no dry flour remains. Then, mix on low speed for just a few seconds.
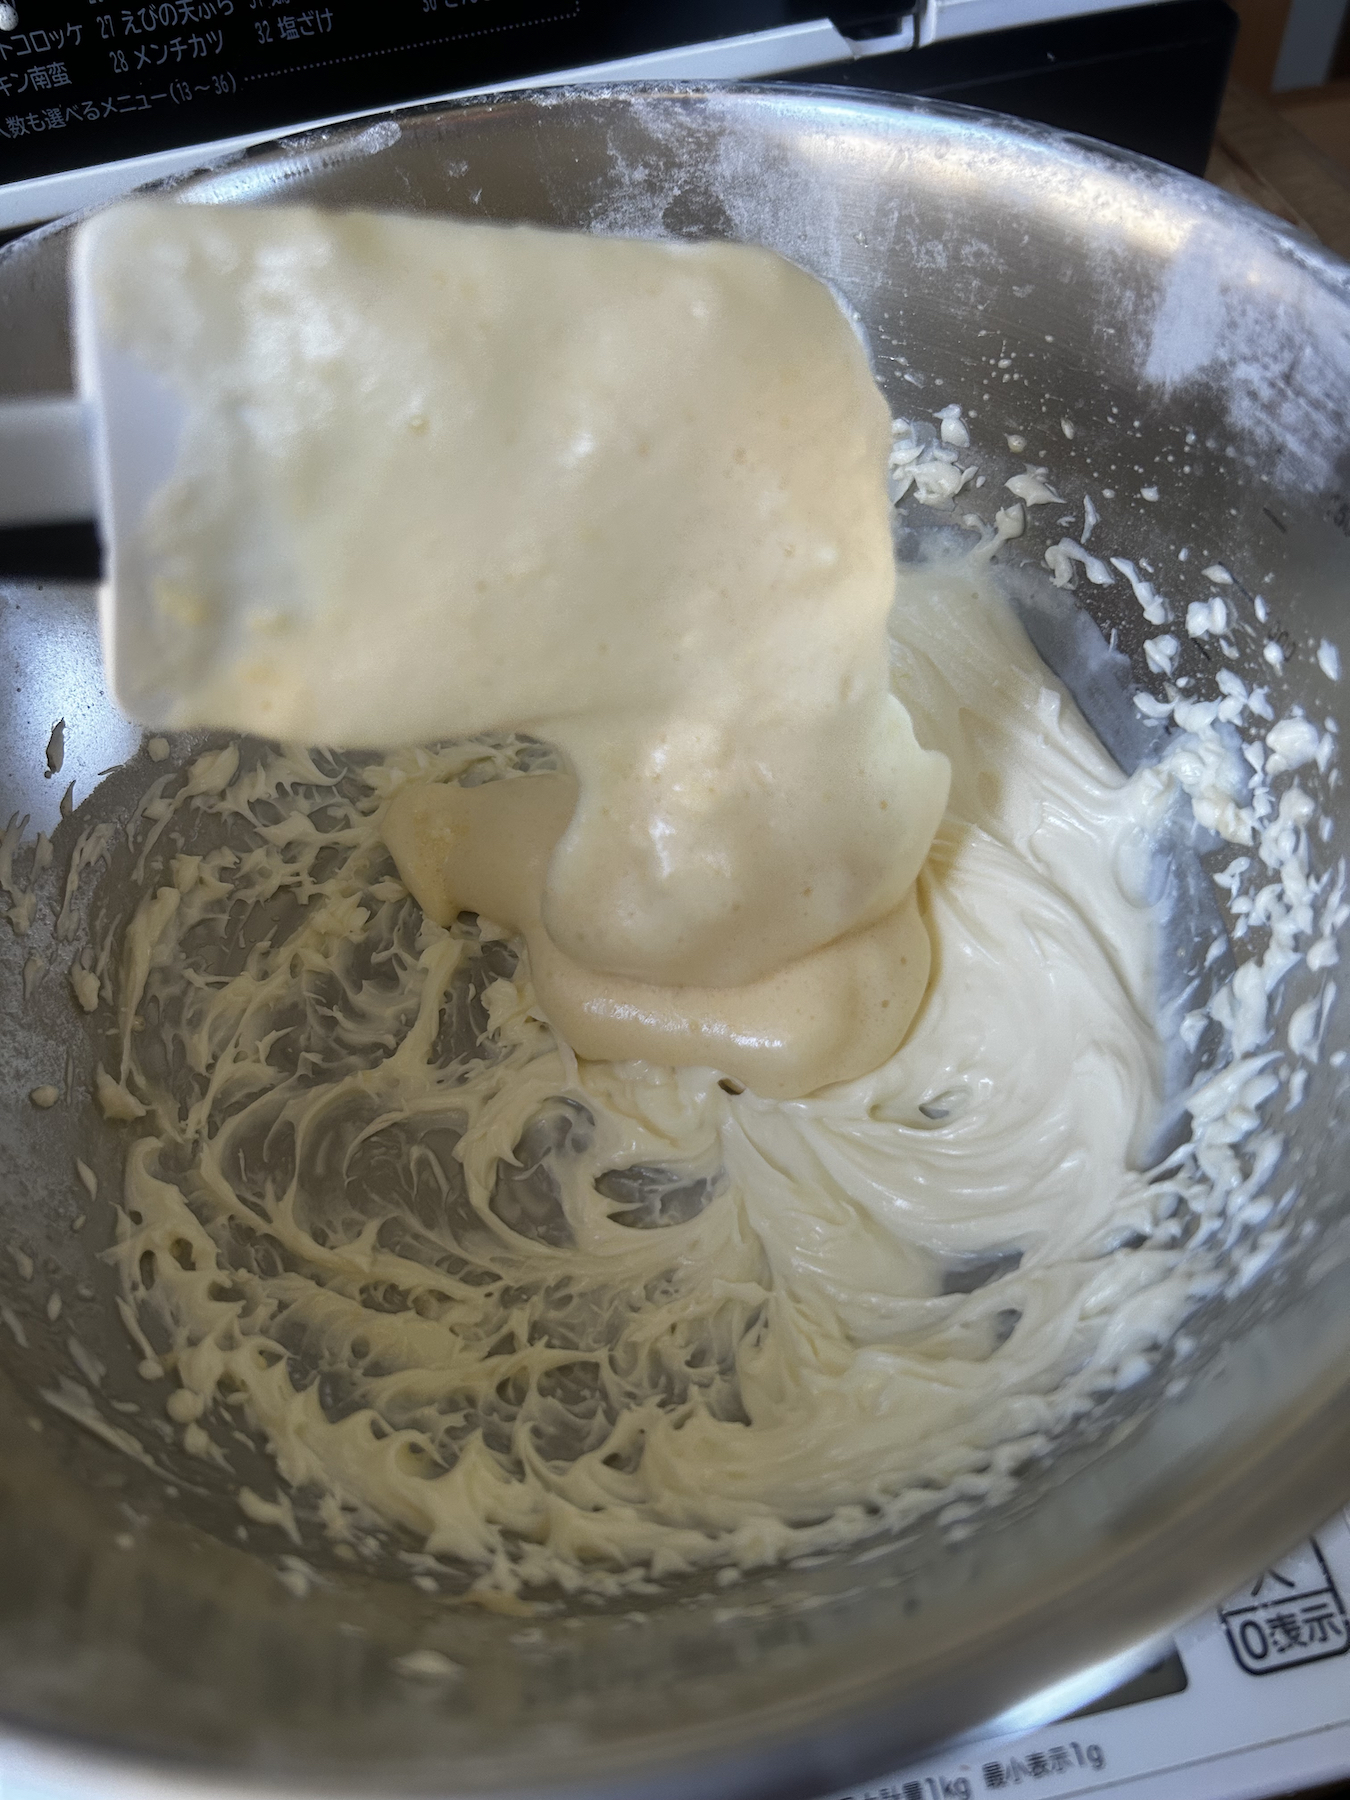
10. Add Two Scoops of Egg Batter
Add two scoops of the egg batter into the butter mixture with your spatula. Mix again on low speed for about 30 seconds.
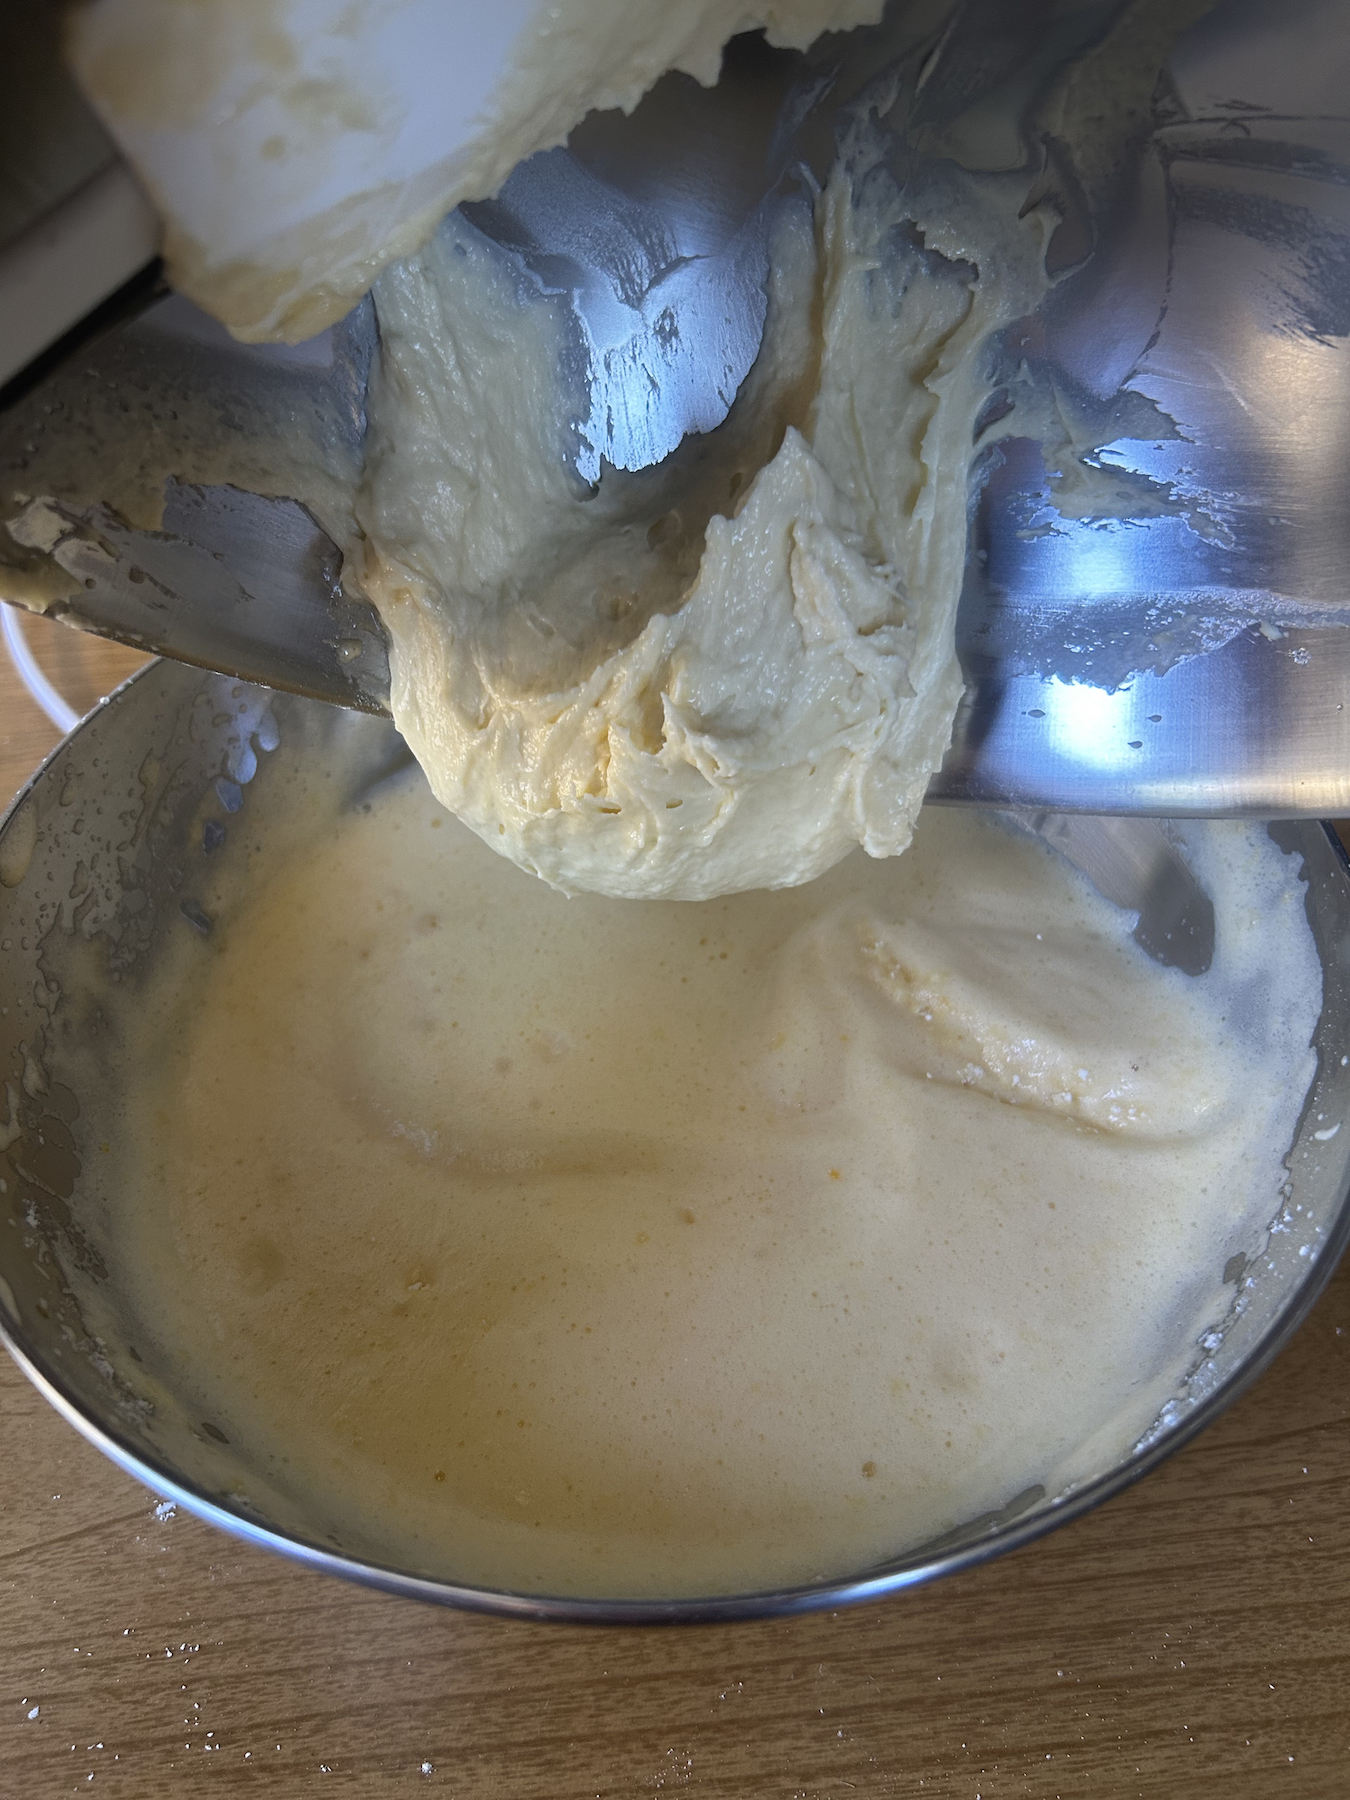
11. Combine the Two Batters
Pour the butter mixture into the remaining egg batter and fold again with a cutting, scooping motion until the butter batter mixes in well.
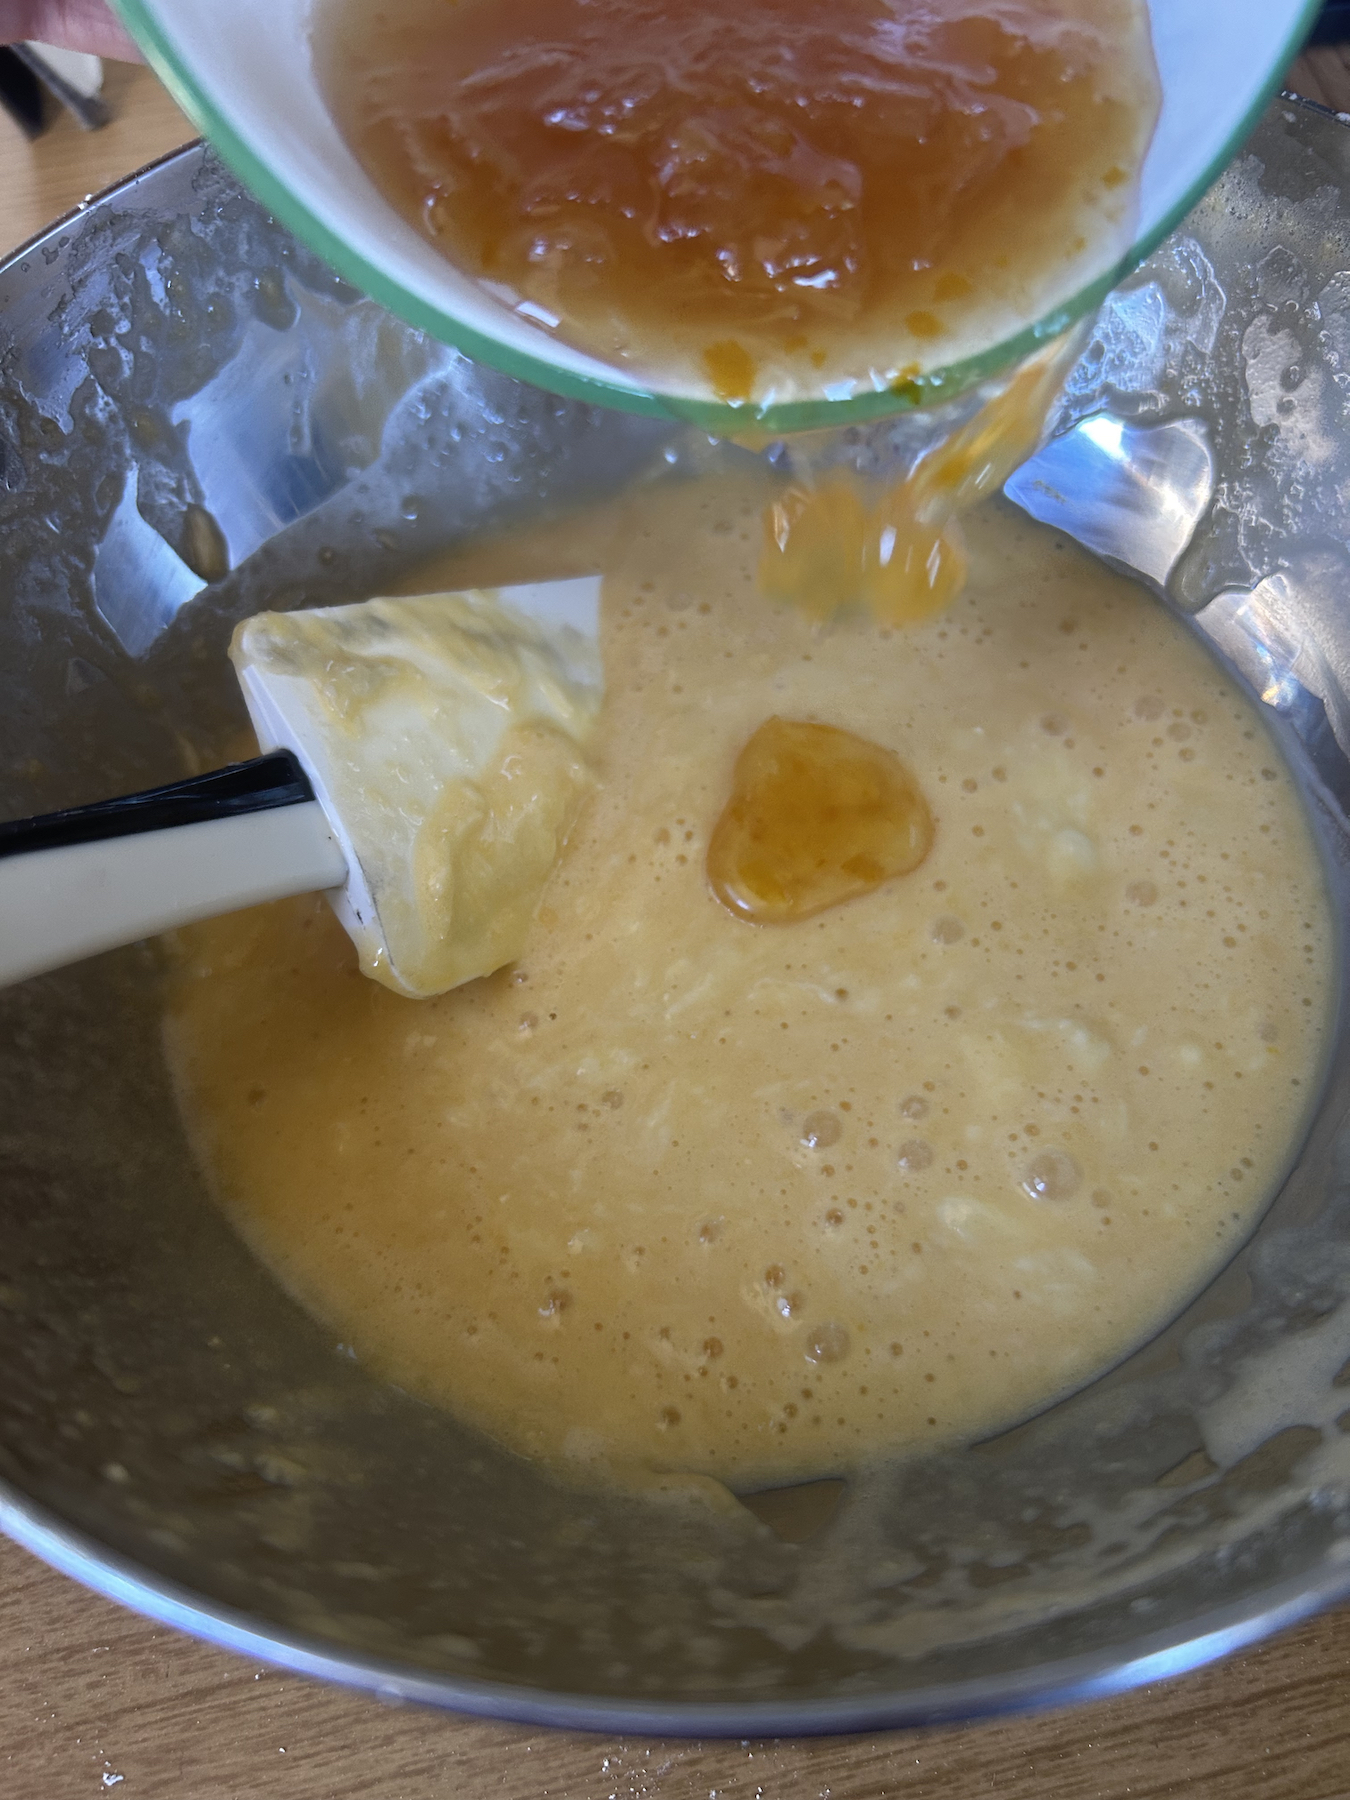
12. Add the Yuzu Cha
Add the yuzu cha, brought to room temperature, and fold until just combined. Be careful not to overmix.
13. Lay a Butter Line Down the Center
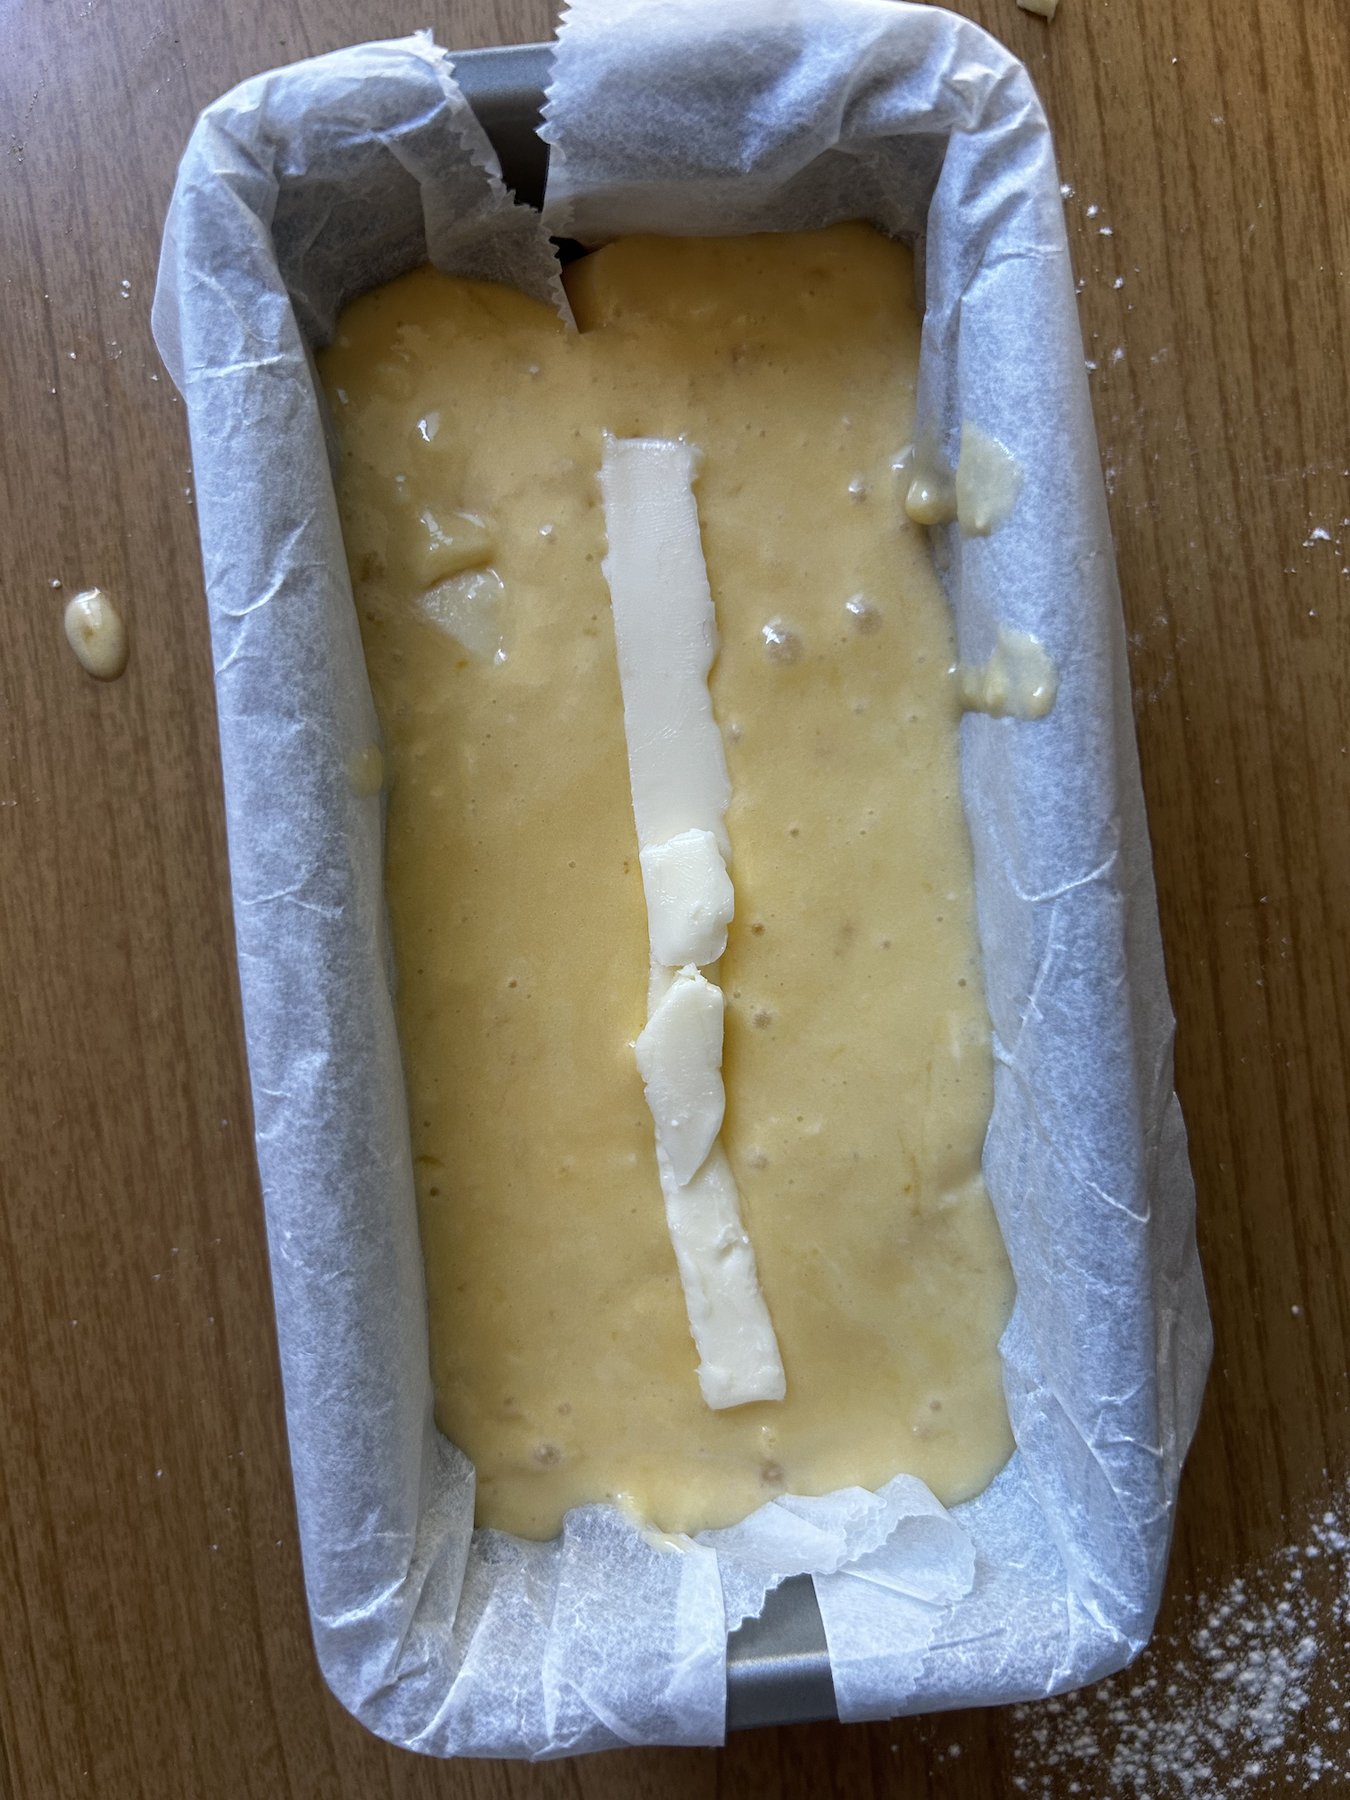
Pour the batter into the prepared pan and drop it on the counter 3 to 4 times to release air bubbles. Lay the two butter slices end-to-end down the center of the batter, touching with no gap between them, so they form one unbroken line.
14. Bake at 320°F (160°C)
Bake at 320°F (160°C) for 35 minutes, until a toothpick inserted in the center comes out clean or with a few moist crumbs.
Let the cake cool in the pan for about 10 minutes. Then use the parchment overhang to lift it out of the pan and transfer it, still wrapped in parchment, to a wire rack to finish cooling.
Optional: Cream Cheese Whipped Cream
- Beat the cream cheese in a chilled bowl with chilled beaters until completely smooth.
- Add the powdered sugar and mix until combined.
- Gradually add the cold heavy cream while mixing on low speed.
- Increase to medium speed and whip to soft-to-medium peaks. Stop as soon as the beaters leave trails, since it can overwhip quickly.
- Stir in a tiny pinch of salt, if using.
- Slice the cake and add a dollop of whipped cream to the edge of each slice. Garnish with a fresh sprig of mint.
Storage and Make-Ahead Tips
This cake tastes best warm, fresh from the oven. If you're not serving it right away, here's how to store it.
This cake has less sugar than a typical pound cake, which means less natural preservation. So I recommend refrigerating it rather than leaving it at room temperature. Once the cake has cooled completely, wrap it tightly in plastic wrap and store it in the fridge for 3 to 4 days. If it's already topped with the cream cheese whipped cream, keep it refrigerated and eat within a couple of days. The topping is dairy-based.
For make-ahead baking, you can bake the cake a day in advance. Wrap it well and keep it refrigerated until you're ready to top and serve it. If you're transporting it, wrap it twice in plastic wrap, then once in foil. I'd make the whipped cream fresh, closer to serving time, or go without.
What to Serve with Yuzu Cake


Frequently Asked Questions
Tangy and bright, somewhere between lemon and mandarin, but more floral and complex than either. This version is only lightly sweet, so the citrus really comes through, especially in the pockets of yuzu cha baked into the crumb.
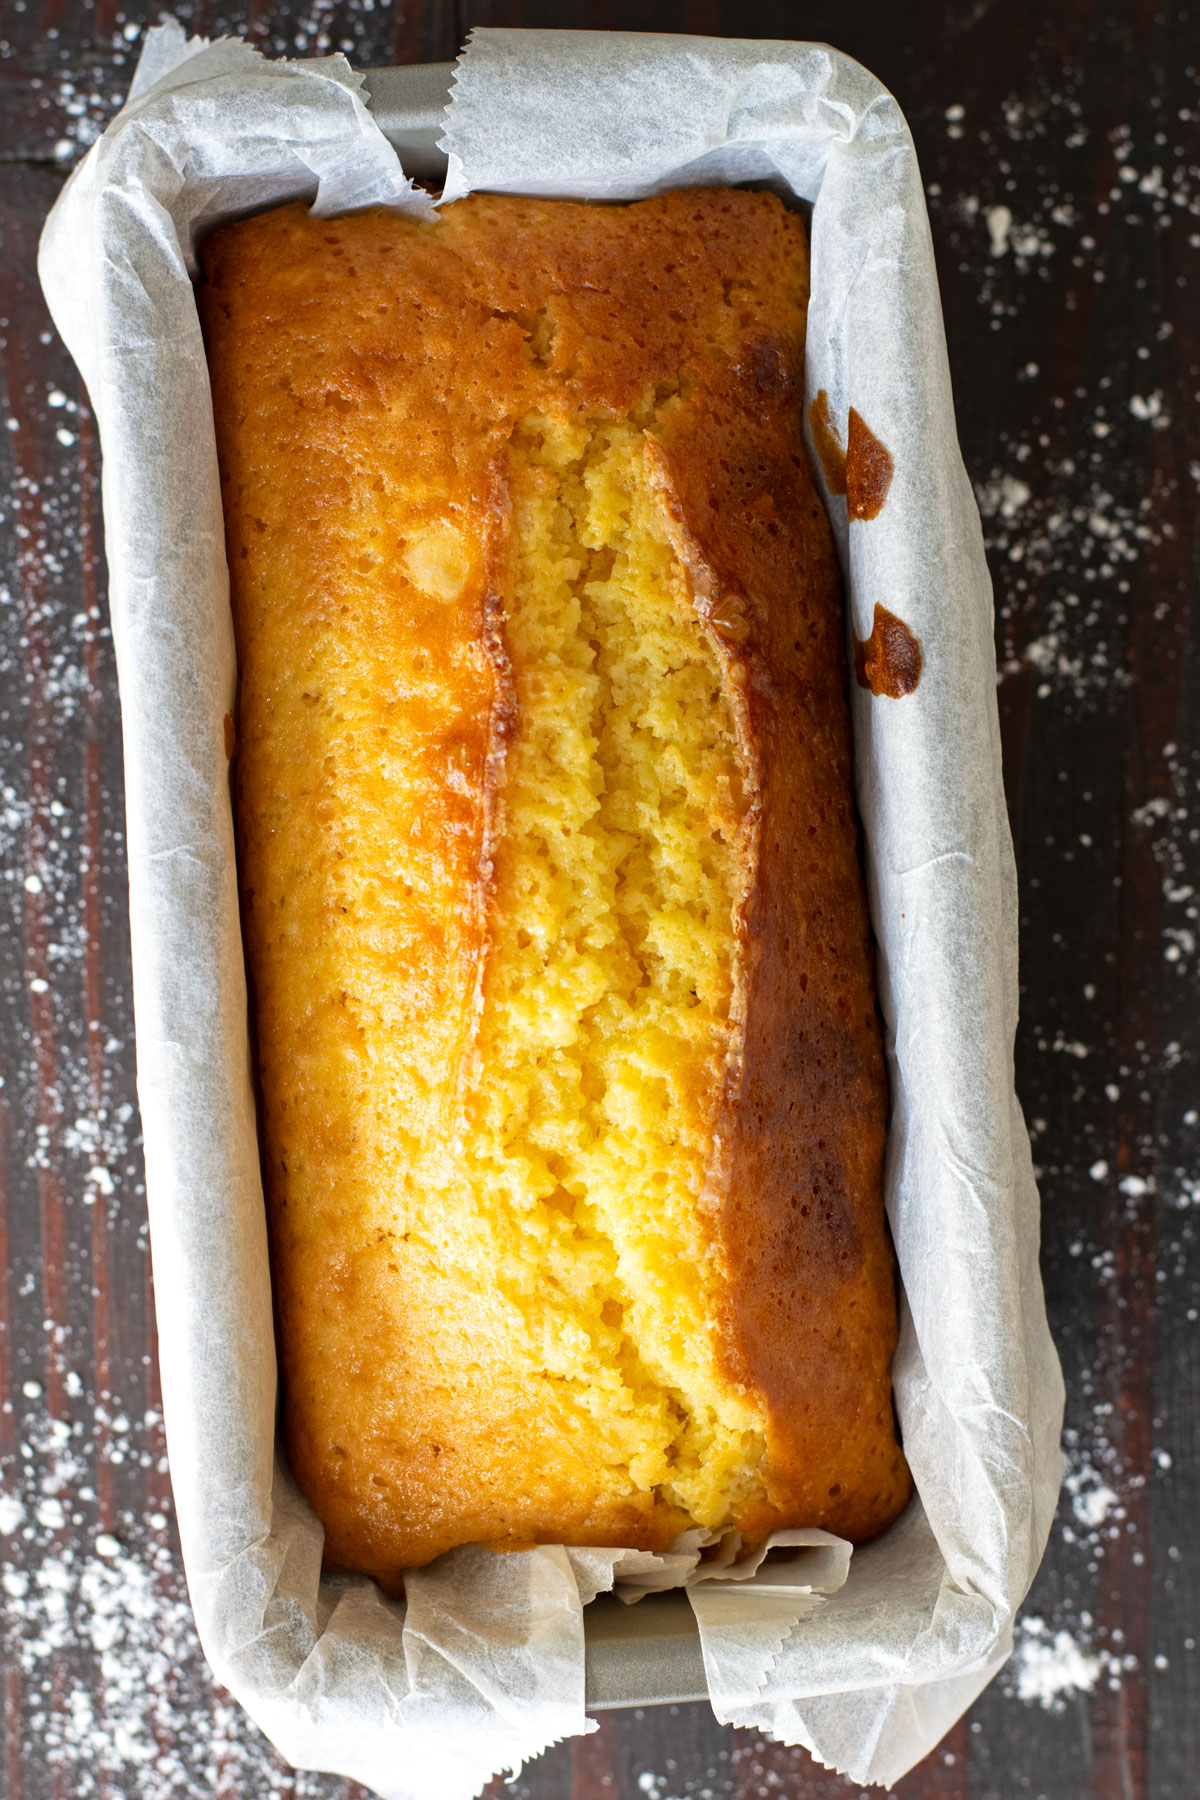
That's classic pound cake, not a mistake. A thin, unbroken line of butter down the center keeps that strip softer, so it splits there instead of cracking randomly. No crack usually means the butter was too thin, broken up, or off-center.
Usually one of three things: the cream wasn't cold, its fat content was too low (look for at least 36%), or it was a bit old. Use fresh, cold cream and beat continuously. Once the beaters leave trails, stop, that's soft peaks. Beating past that turns it grainy instead of thicker.
This cake has less sugar than a typical pound cake, so I recommend refrigerating it rather than leaving it at room temperature. Once fully cooled, wrap it tightly and refrigerate for 3 to 4 days. If it's already topped with the cream cheese whipped cream, eat within a couple of days, since the topping is dairy-based. I haven't tried freezing this one myself, but pound cakes generally freeze well wrapped tightly, so it should work if you want to make it further ahead.
Yes, for the cake. Bake it a day ahead, wrap it well, and keep it refrigerated until you're ready to top and serve it. I'd make the whipped cream closer to serving time, though, since it's best used the same day.
More Yuzu Recipes You'll Love


Did you try this yuzu cake recipe? 🍋
I’d love to see how yours turned out! Tag @eyesandhour on Instagram. Leave a ⭐️⭐️⭐️⭐️⭐️ rating and comment below. It helps others find the recipe and I appreciate it more than you know.
Yuzu Pound Cake with Cream Cheese Whipped Cream

Ingredients
For the Cake
- 100 g cake flour
- 3 g baking powder
- 40 g salted butter
- 2 large eggs (about 64 g each), room temperature
- 50 g granulated sugar
- 40 g sour cream
- 90 g yuzu cha (yuzu tea marmalade)
- 2 thin slices butter for the center line
For the Cream Cheese Whipped Cream
- 50 g cream cheese softened
- 8 g powdered sugar
- 100 g heavy cream
- salt (optional) a tiny pinch
- fresh mint (optional) as a garnish
Instructions
For the Cake
- Preheat the oven to 320°F (160°C) and line an 18 cm loaf pan with parchment paper.
- Whisk together the cake flour and baking powder in a medium-sized bowl; set aside.
- Melt the salted butter in a water bath: place a glass pan with the butter directly in a saucepan filled with 1 inch of water. Bring the water to a gentle boil, then turn off the heat. Stir the butter with a spoon until fully melted, then cover to keep warm.
- In a separate bowl, start mixing on low speed, then increase to high speed and whip the eggs and granulated sugar until pale and thick, until the batter holds a figure 8 shape about 1 cm high. Switch to low speed and mix for 30 seconds more. Set aside.
- Sift about ⅔ of the flour mixture into the egg batter. Fold with a cutting, scooping motion, turning the bowl with your other hand, until no flour is visible.
- Transfer the melted butter to a clean, medium-sized bowl. Then add the sour cream and stir together with a spoon until smooth.
- Sift all of the remaining flour mixture into the butter and sour cream mixture and fold with a spatula until no dry flour remains. Mix on low speed for just a few seconds.
- Add two scoops of the egg batter into the butter mixture with your spatula. Mix again on low speed for about 30 seconds.
- Pour the butter mixture into the remaining egg batter and fold again with a cutting, scooping motion until the butter batter mixes in well.
- Add the yuzu cha, brought to room temperature, and fold until just combined. Be careful not to overmix.
- Pour the batter into the prepared pan and drop it on the counter 3 to 4 times to release air bubbles.
- Lay two thin slices of butter, for the center line, on top of the batter. Make sure they are connected to form one solid line.
- Bake at 320°F (160°C) for 35 minutes, until a toothpick inserted in the center comes out clean or with a few moist crumbs.
- Let the cake cool in the pan for about 10 minutes. Then use the parchment overhang to lift it out of the pan and transfer it, still wrapped in parchment, to a wire rack to finish cooling.
For the Cream Cheese Whipped Cream
- Beat the cream cheese in a chilled bowl with chilled beaters until completely smooth.
- Add the powdered sugar and mix until combined.
- Gradually add the cold heavy cream while mixing on low speed.
- Increase to medium speed and whip to soft-to-medium peaks. Stop as soon as the beaters leave trails, since it can overwhip quickly.
- Stir in a tiny pinch of salt, if using.
- Slice the cake and add a dollop of whipped cream to the edge of each slice. Garnish with a fresh sprig of mint.
Notes
- This recipe is sized for an 18 cm loaf pan. If you don't have one, divide the batter into a muffin or cupcake tin instead and start checking for doneness earlier, since smaller portions bake faster.
- Keep the butter for the center line in one continuous, unbroken strip. Gaps in the line will give you an uneven crack, or none at all. Use a bit more butter if needed to ensure the strips are connected (see process photo #13).
- Use fresh, cold heavy cream with at least 36% fat for the whipped cream. Stop whipping as soon as the beaters leave trails, that's already soft peaks, and going further will turn it grainy instead of thicker.
- Once cooled, wrap the plain cake tightly and refrigerate for 3 to 4 days. If it's already topped with the whipped cream, eat within a couple of days, since the topping is dairy-based.
- The cake can be baked a day ahead, wrapped well, and kept refrigerated. Make the whipped cream closer to serving time.
Leave a Reply